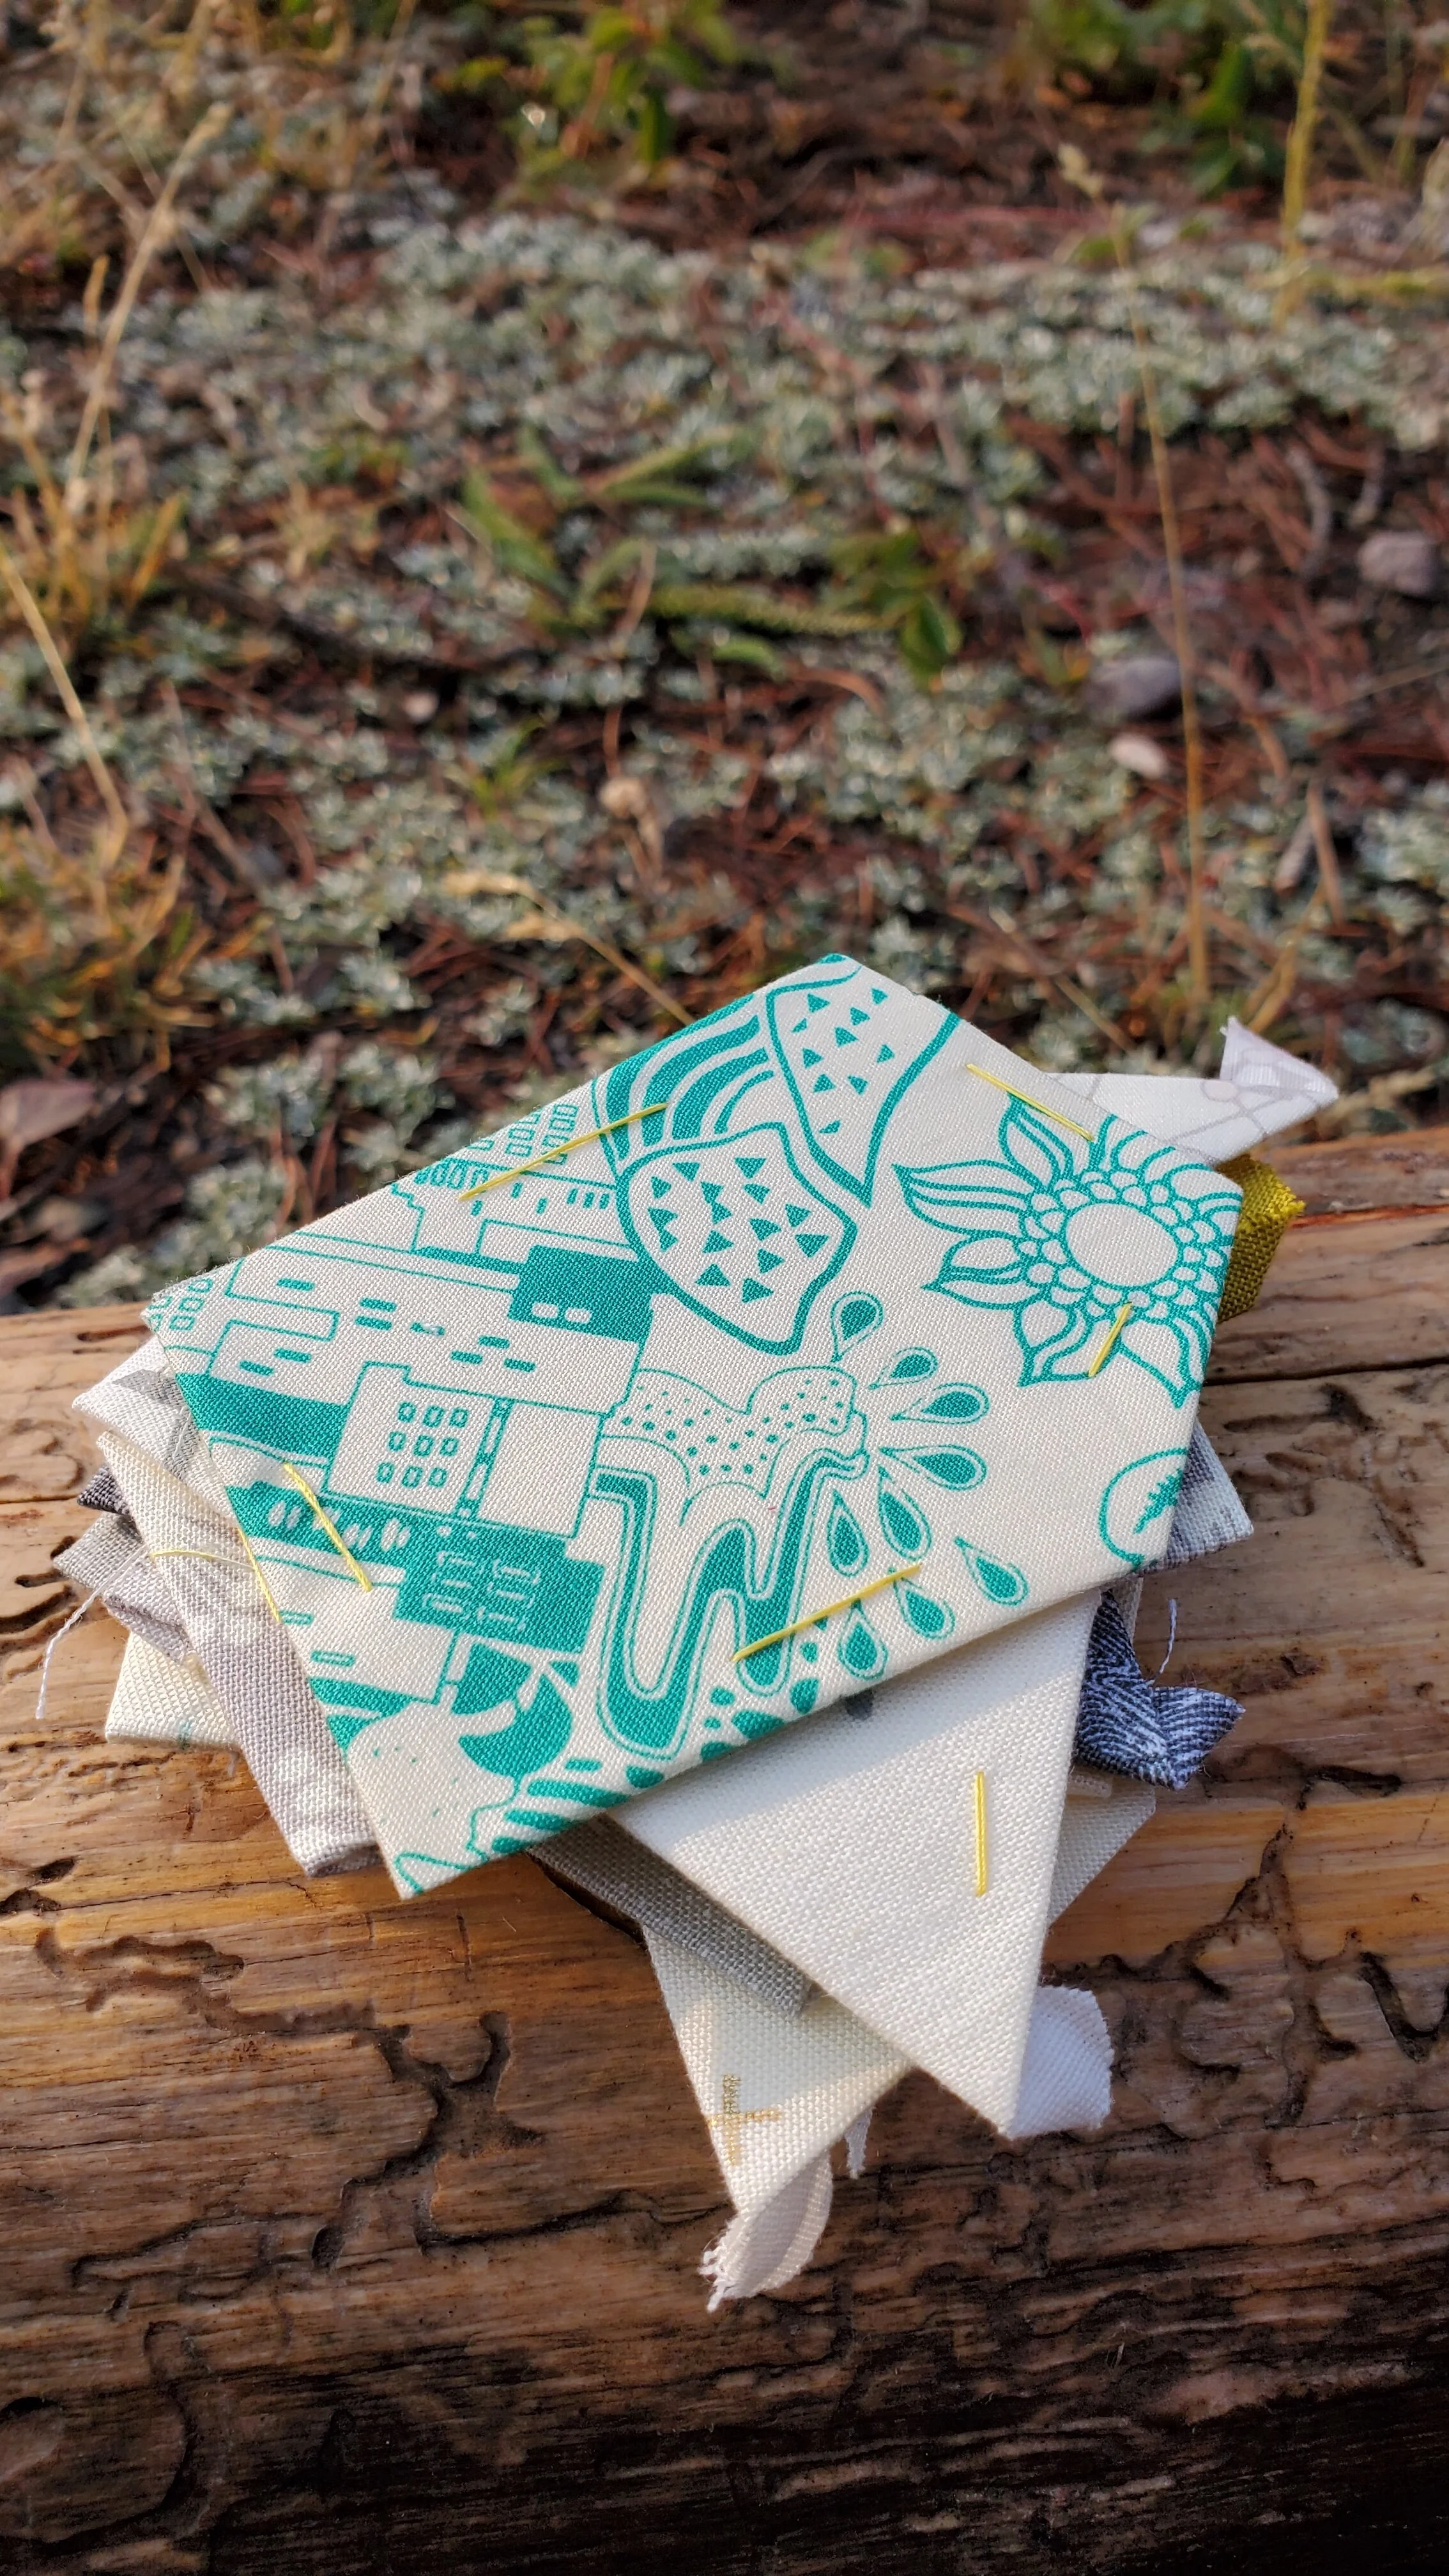
"process"

Blobs of Improv Applique

At some point in the last few years I made one of these blobs. I was using it as a sample for an Improv Applique class I was teaching online. I probably made another one in another class. These were only ever intended to be samples.

Intentions and reality rarely meet in my quilting play.

Now that I have the studio and no machines at home my Morning Make is always handwork, when it comes to stitching. As I uncovered these blocks during the move they came to mind as one thing to play with as the morning grew cold and dark. It turns out they are a fun spot of joy! Now I keep making them.

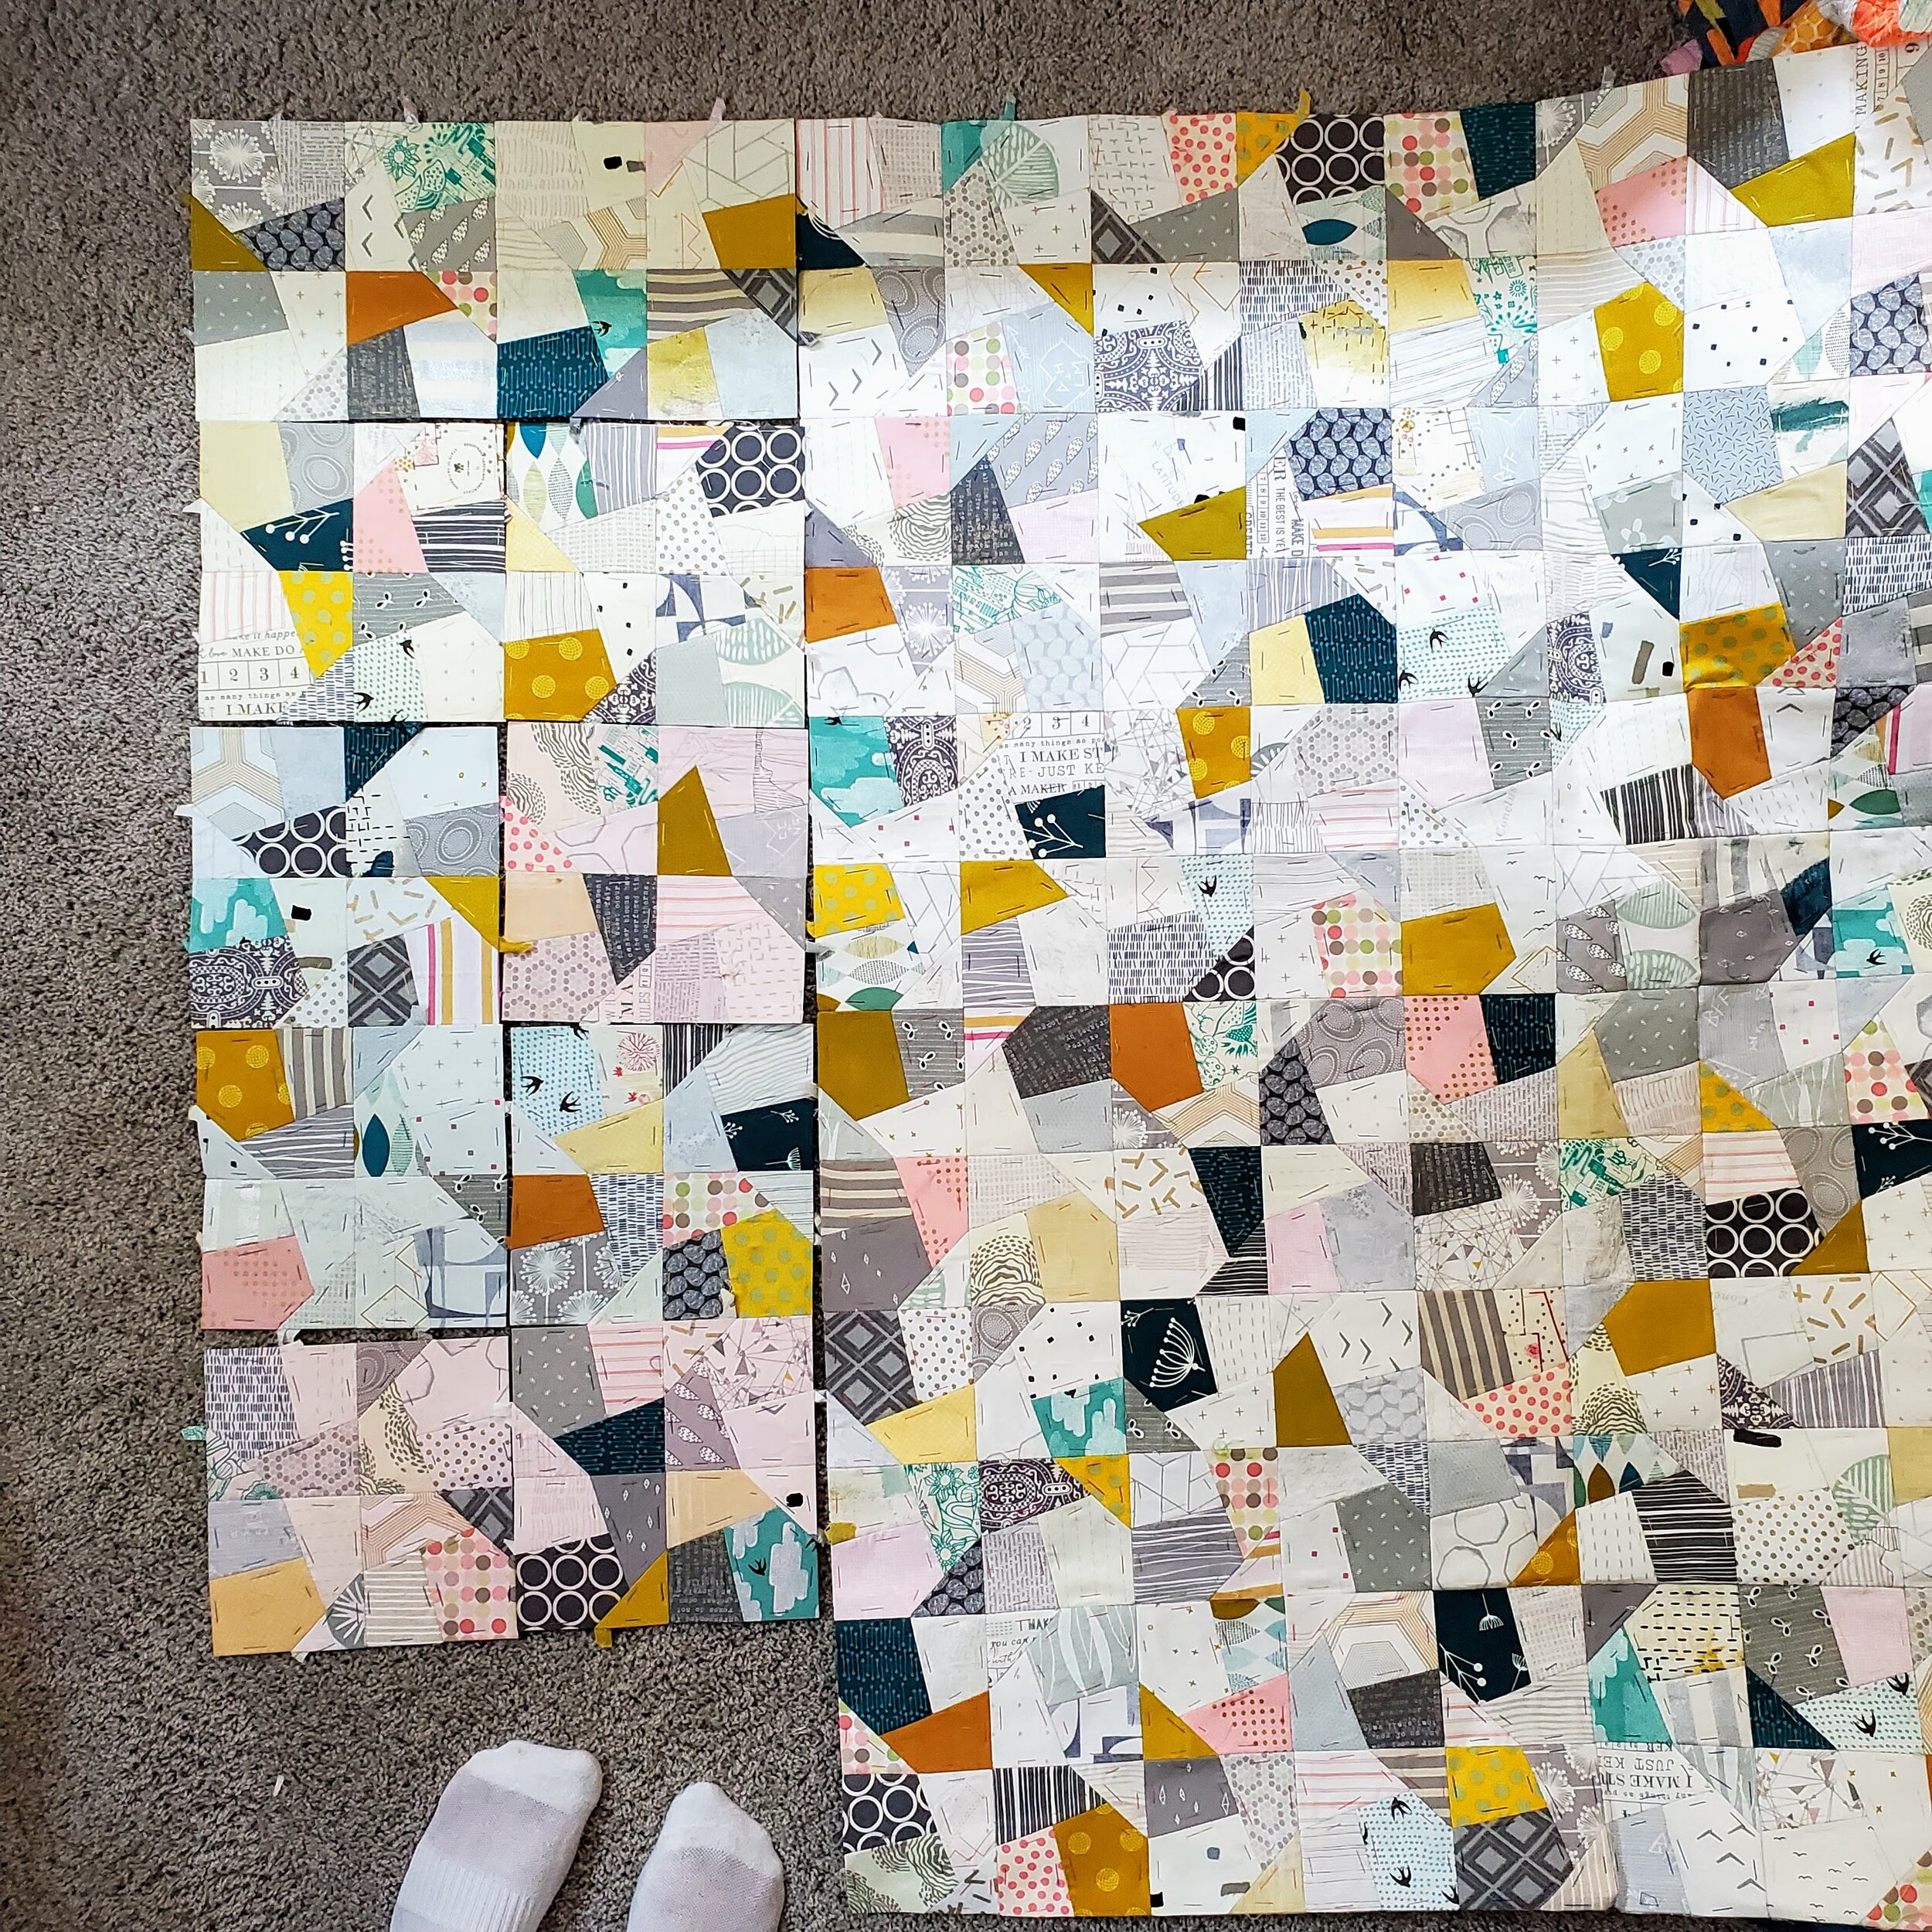
This was my initial plan for layout: random. Just the four colours and laid out in no particular order. As soon as I decided to turn these blocks into a quilt this was my plan. I also wasn’t expecting to make a large quilt, only 5 x 5 blocks. As the background pieces are 10'“ squares, this would make a simple little baby quilt.

But then… but then I laid out the blocks by colour. It was actually only so I could ensure I wasn’t repeating the background fabrics in each colour way. Seeing them together was easier than thinking through that. And oh! Did that change everything!

This layout is amazing. It is so much stronger in showing off the blobs, giving them colour order. I still get randomness in the various fabrics, but the structure of columns is a much stronger design. There is no going back now.

What I do need to do, however, is add more columns. I’ve currently got 7 of each colour. If I add one more colour I now get a small lap quilt (47.5” x 66.5”). If I add 2 then I get a bigger lap quilt, especially if I make 8 blocks of each colour (57” x 76”). I could add 3 colours, stick with 7 blocks, and get a classic square (66.5” x 66.5”). I’m torn, to be honest. So, I will add 1 colour and see how I feel about it.

Who knows? I may change my mind completely again.

Morning Make 2023 - Collage Portraits

Up first in my portrait making, aside from learning how to draw, was something I was just a bit familiar with. Back in 2017 I took a class with Melissa Averinos on making faces in fabric. I made one face, loved the process, developed some grand ideas, then promptly did nothing about them. Needless to say, that’s why I chose to start with this technique. Also, I was using her book to learn the drawing basics so it was a natural extension.

In the book Melissa walks us through the basics of anatomy and shape. She outlines many ways your can interpret this with fabric, then encourages you to go for it. It’s all so very approachable. She also has tonnes of examples. You can see the myriad ways people, her students, took to the portraits. You also get to see a big selection of her own work. It is all inspiring.

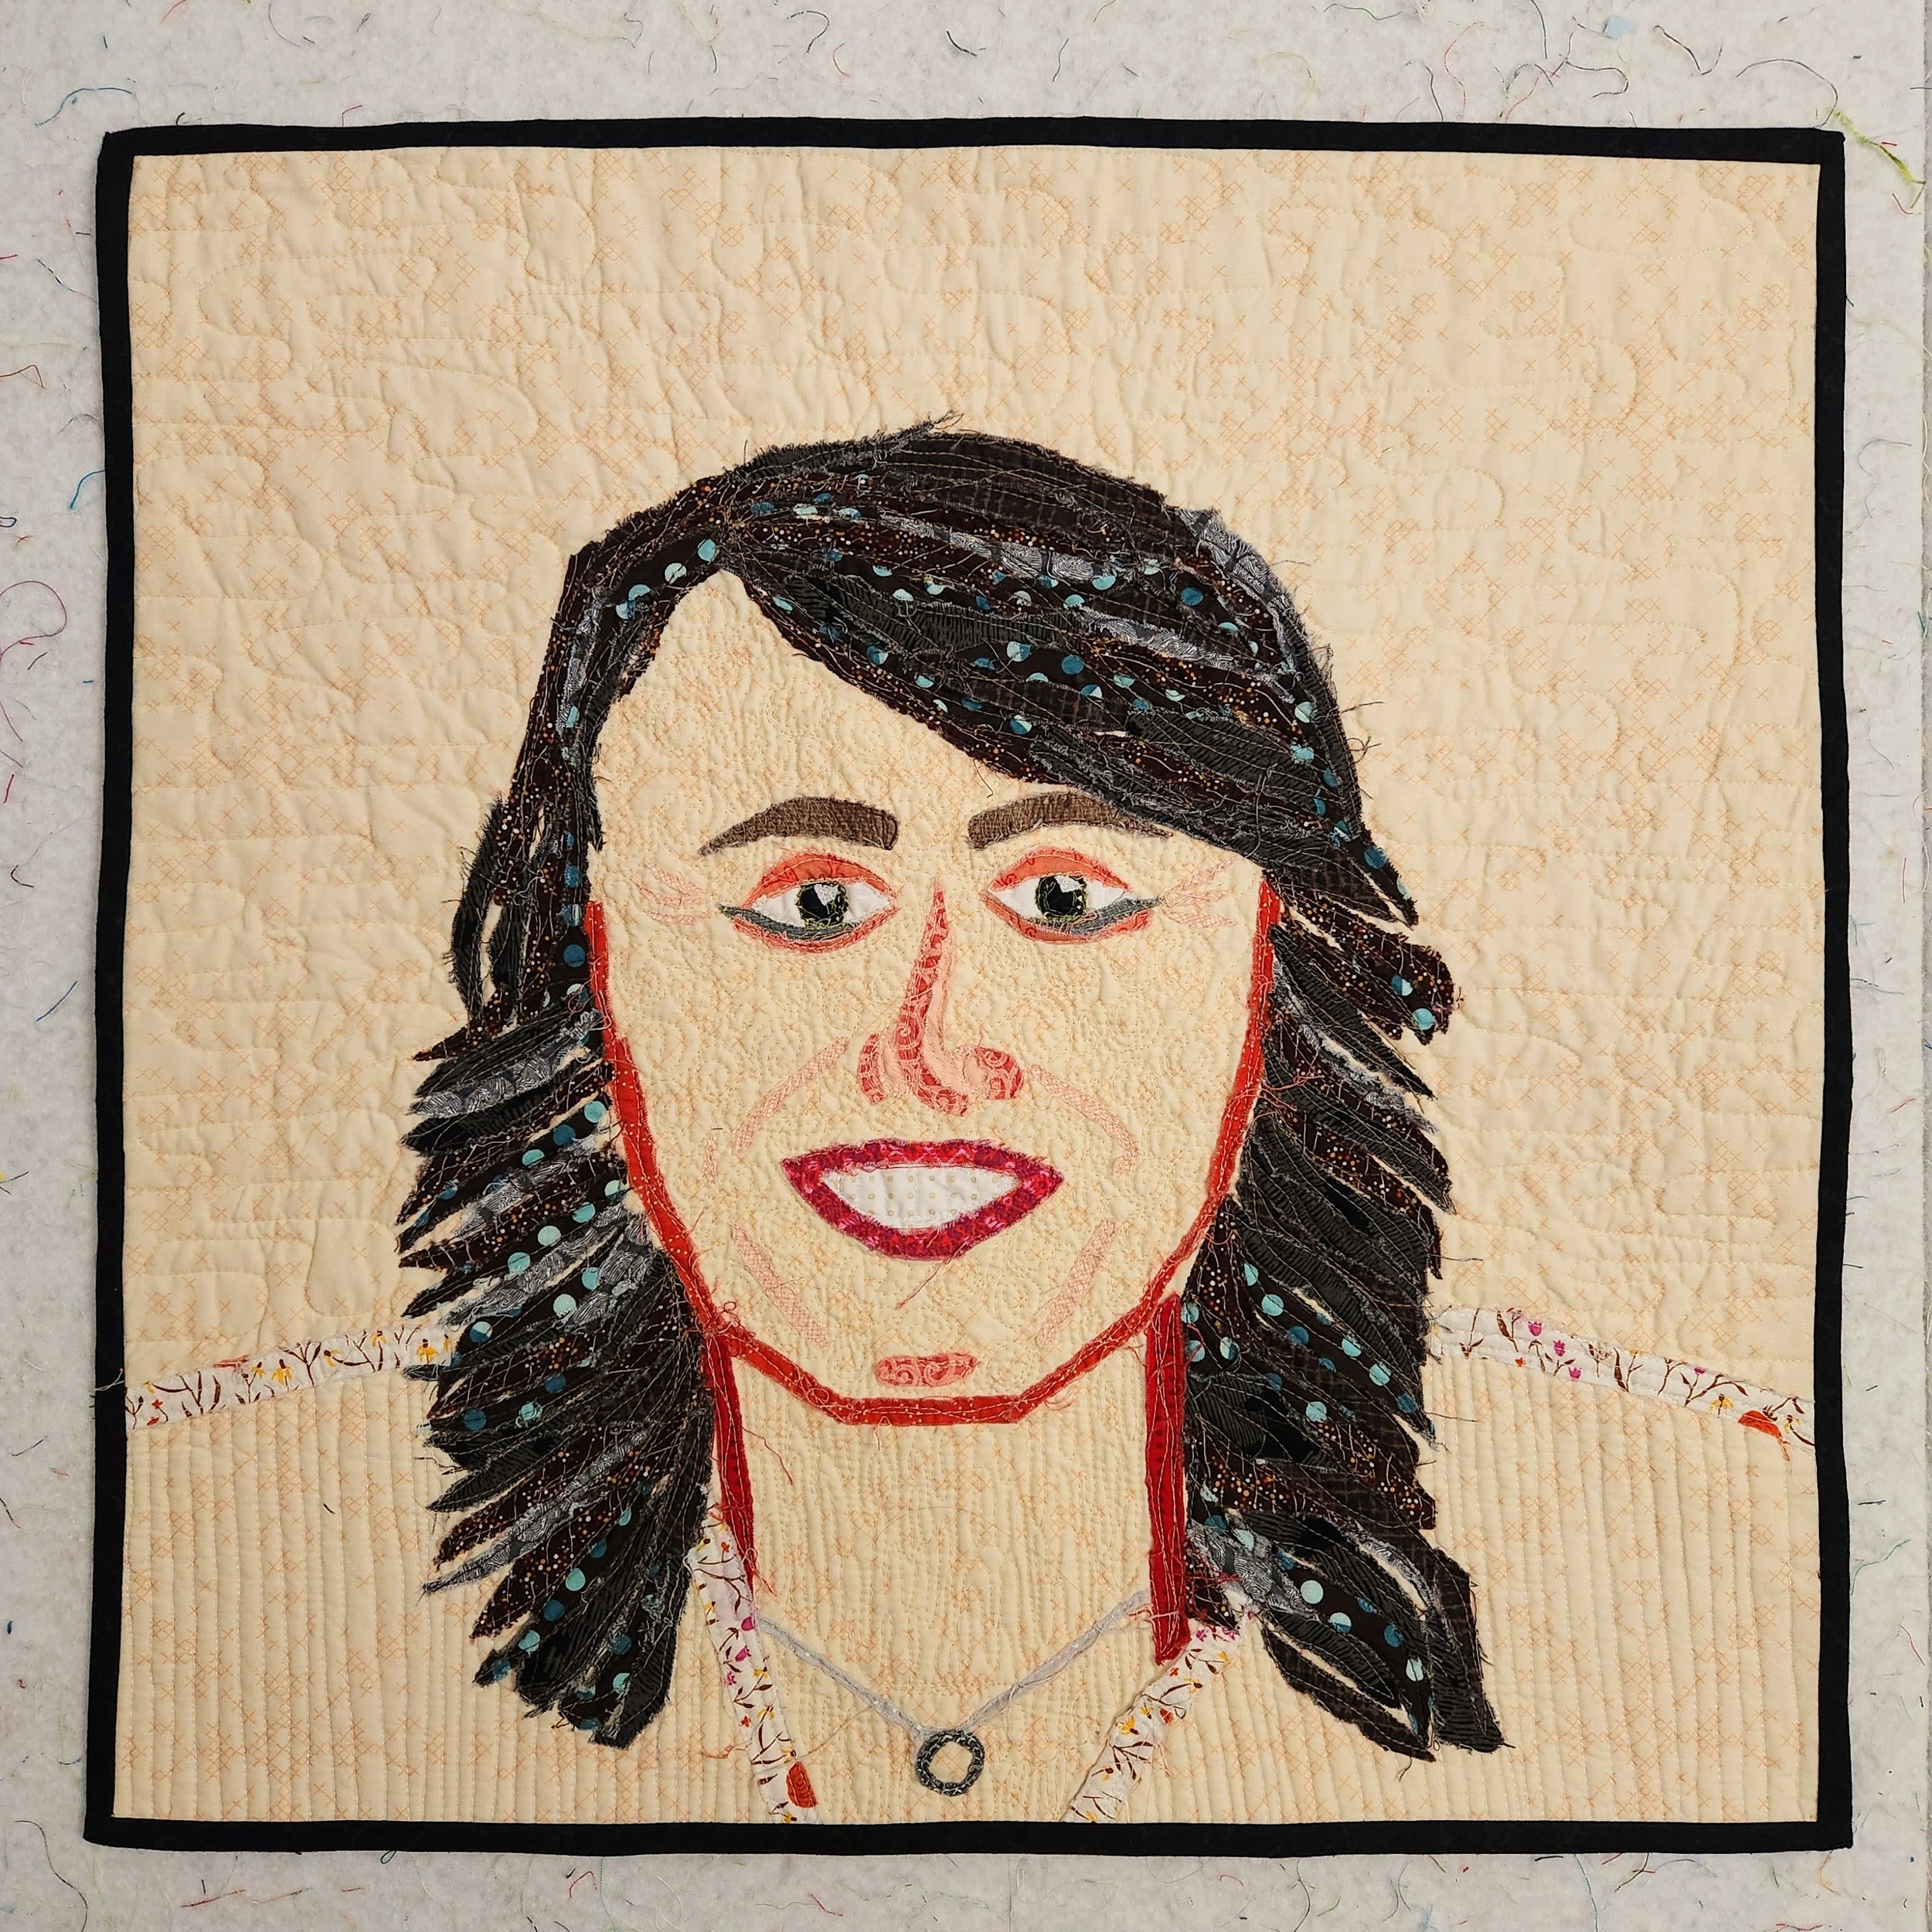
The first photo I took to interpret in fabric was my headshot, the main photo on the homepage here. I found it an interesting challenge because it is hard for me to convey depth in the collage. It’s obvious in the photo but in the collage the shoulders look a little off. But can we take a moment to celebrate my hair?! She is quilted with a million thread colours and stops and starts, providing texture and depth.

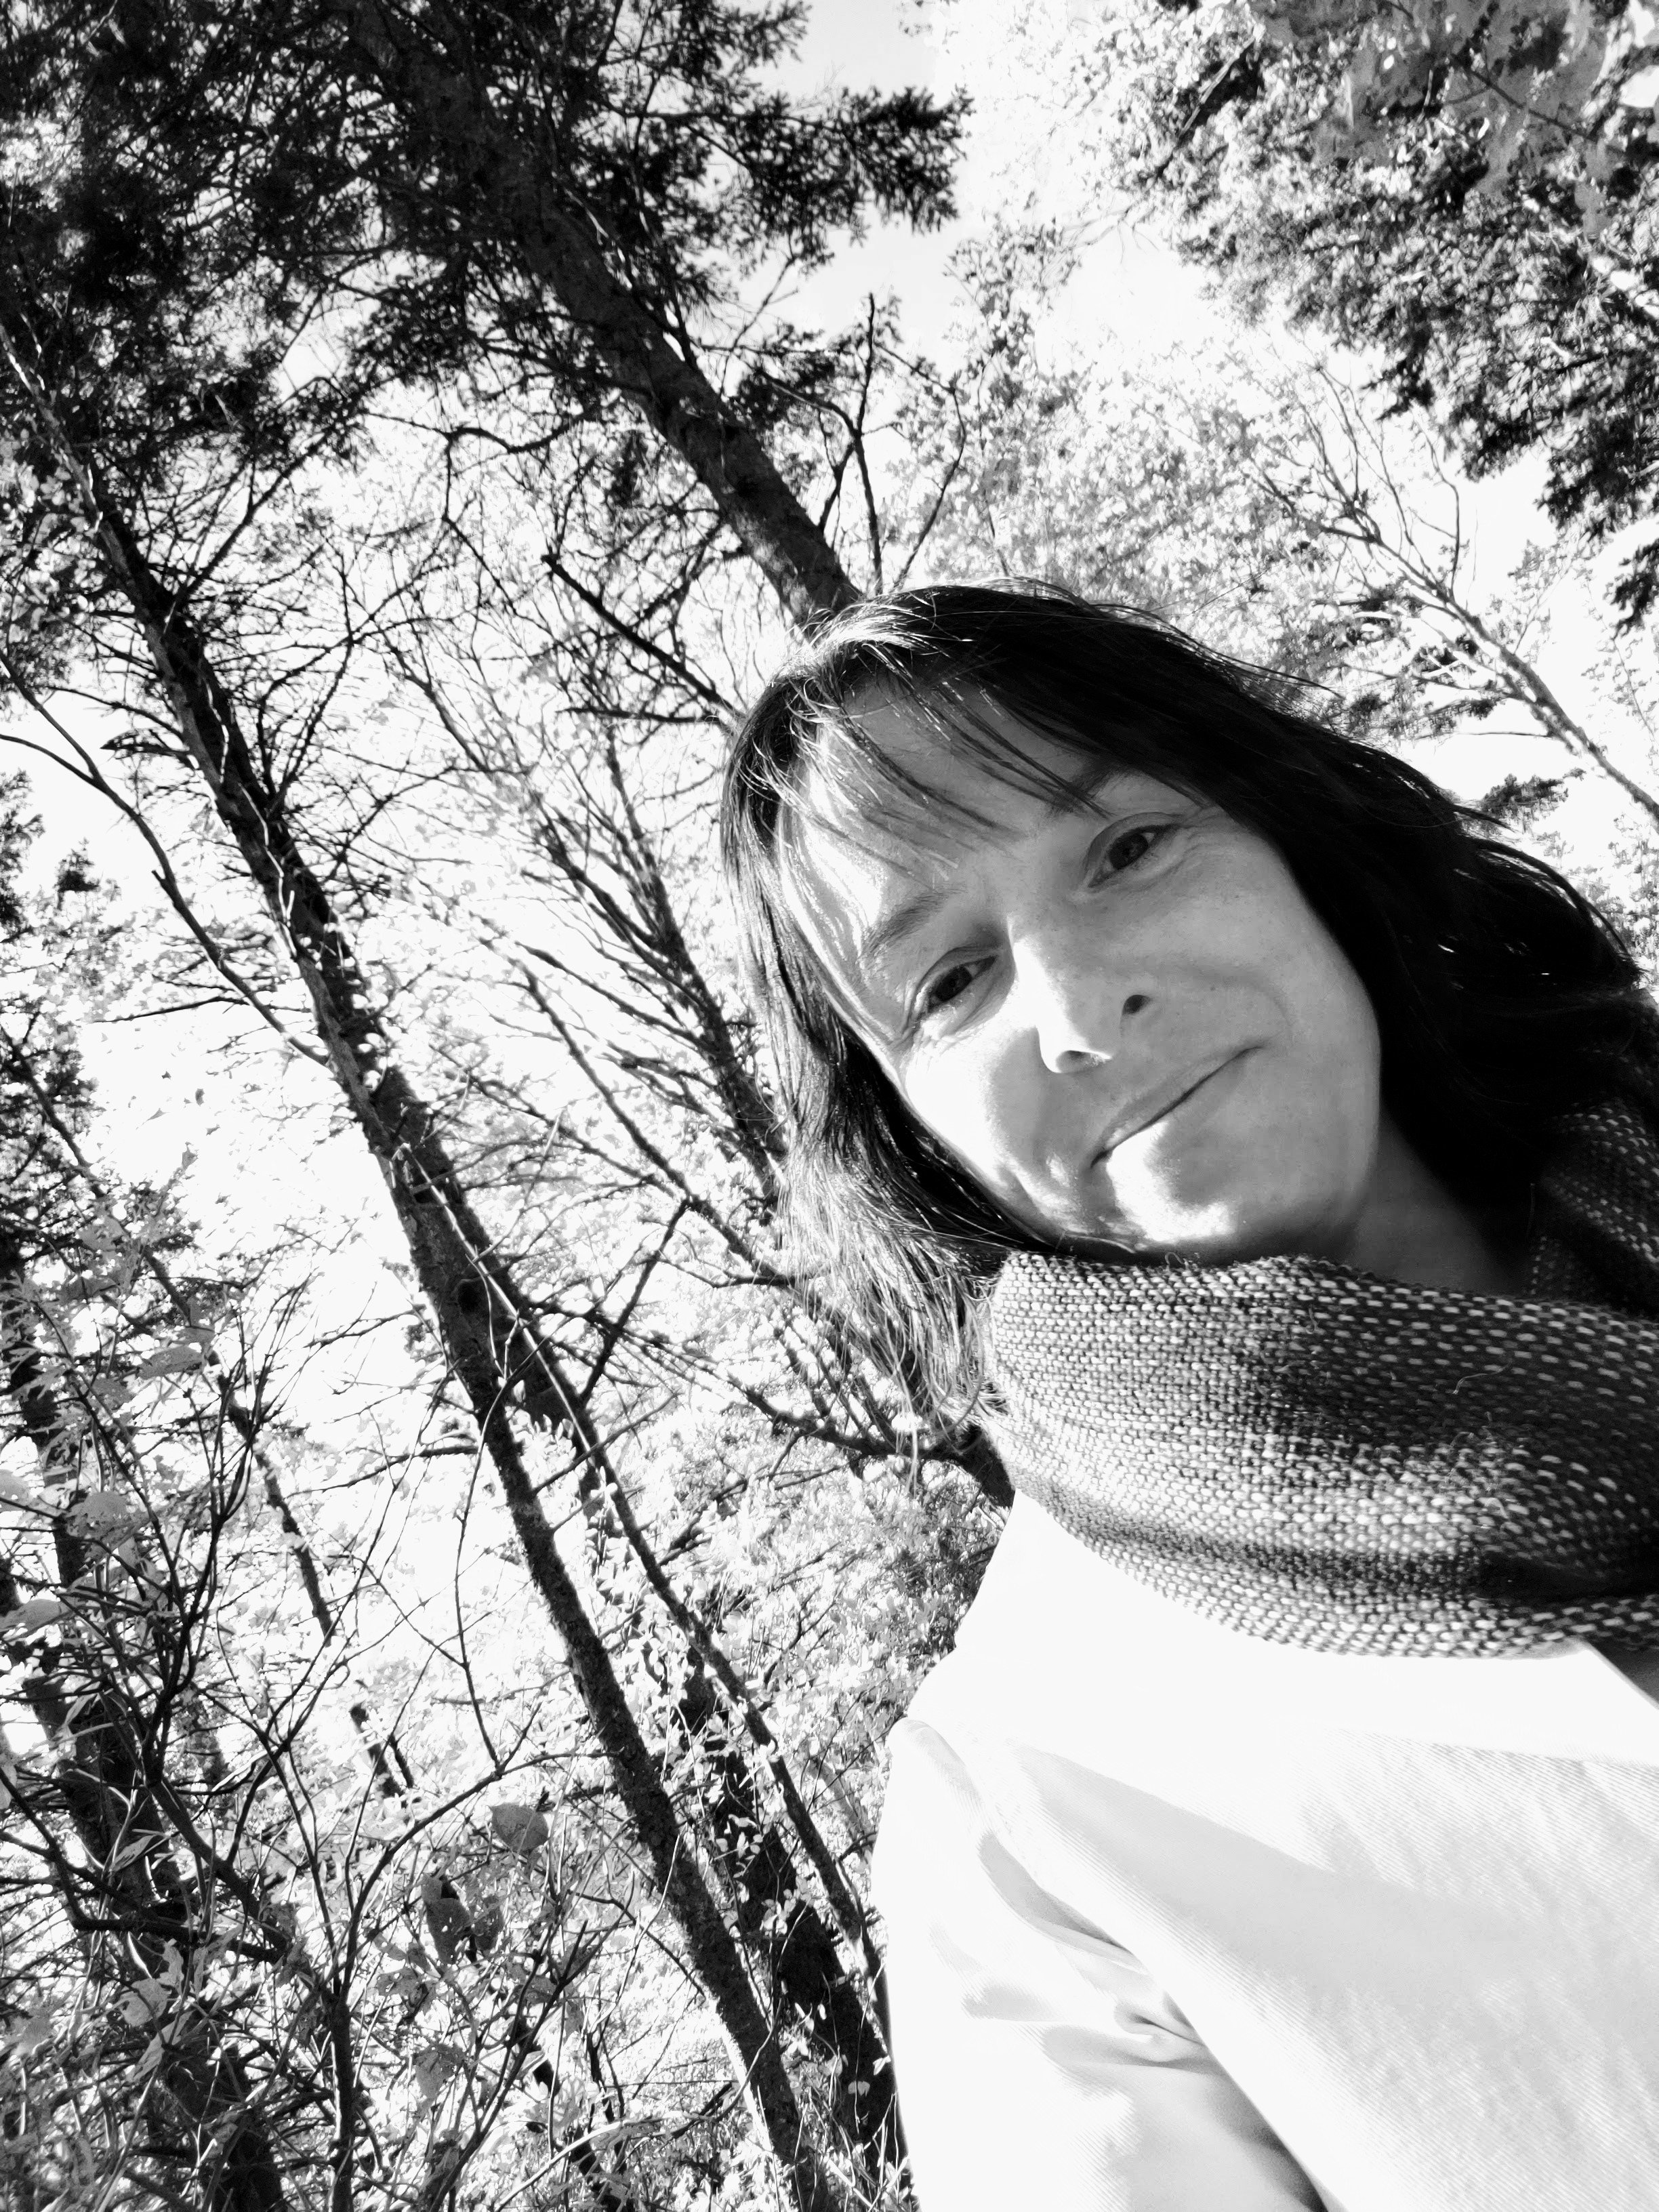
The second collage portrait I did was in black and white. I took a colour photo from when I was visiting Lucy Maud Montgomery’s house in PEI. I was just to happy on that entire trip and it shows in the original photo. I think the collage does not quite show that. In fact, it feels a bit skeletal to me. That being said, I still really like it. I played with being a bit more abstract in shapes and with value. To soften the whole thing I used a pale pink thread for quilting.

To finish both quilts I did give them a quick soak and blocked them. They are small (less that 20” on any side) but had got a bit misshapen in handling. This roughed up the fabric and I discovered places I hadn’t quilted as well. A few repairs with both glue and the sewing machine were needed. Then the mini quilts are bound with a single fold binding in a black on black print. I decided to be consistent among all my self portraits with binding and treated it like a picture frame.

These quilts were an excellent first start to this Morning Make adventure. Fundamentally, I am a quilter so fabric portraits are the way to go for me. Will I make more fabric collages? I’m not sure. the technique is freeing and effective, yes, but I don’t love the roughness of the raw edges. You do get ultimate freedom in cutting your collage though. I think this is a great technique for play and it may instead stay in the repertoire for that reason, even if I don’t make another full portrait quilt with it.

Label Your Quilts!

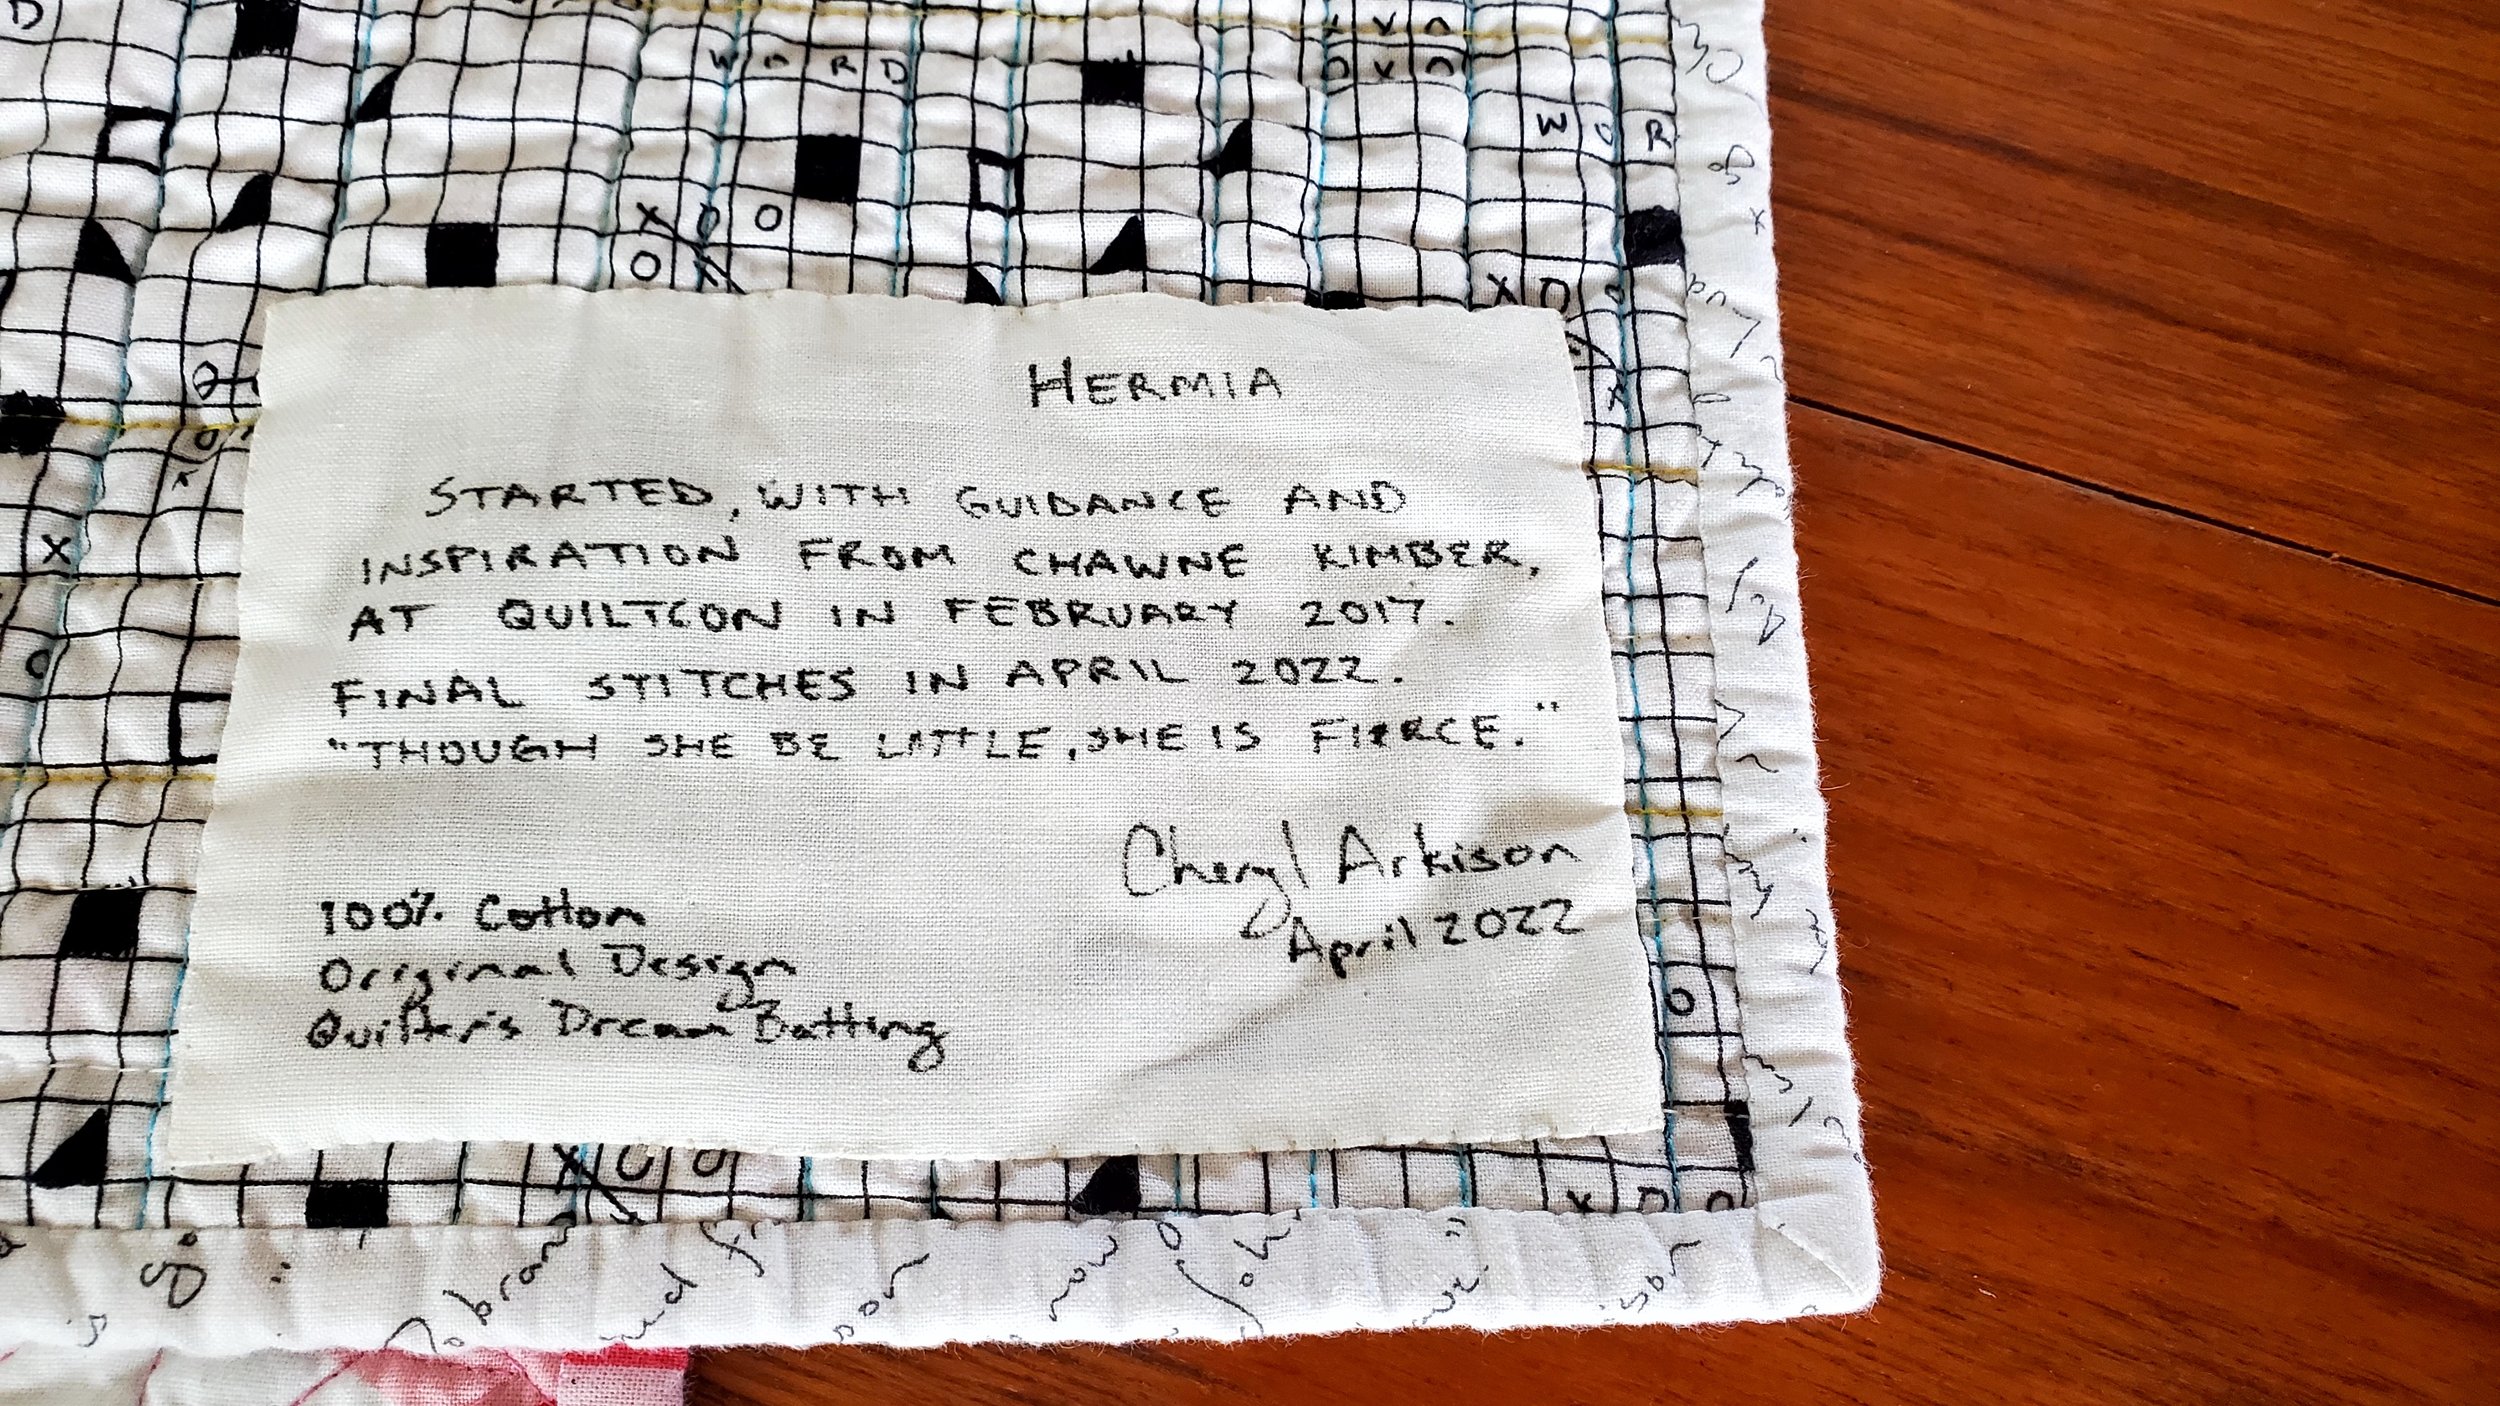
The corners of three quilts, from the back, with hand written labels

Everyone has a different approach to labelling a quilt. Some don’t do it at all, others design and make embroidered labels. Some simply sign it with a marker, others screen print fabric and make it part of the back. Some just add a ‘signature’ bit of piecing or binding, others have custom labels made and sew them in. Truth be told, there is no right or wrong way to do it. What is most important is that you put your name to the work.

For one, be proud of the work you did. You made that! Put your name to it, on it, in it.

Secondly, give your quilt the history to live beyond you.

There are various schools of thought about what should be included on a quilt label. Here is what I think should be on it:

  • Your name

  • Date the quilt was made/finished

  • Material make up

Anything else is just gravy. And gravy is good, so I include other things. I like to name my quilts so that is always there. If there is a specific inspiration or starting point, then that gets included. If I used a pattern I acknowledge it. If it is a gift, I like to put the recipients name on there too (and wedding/birth date if it is for that.)

Your name and the date is important. This is the history part. Should your quilt live beyond you or be separated from you (by choice or not) there is a record of the maker. If your grandchildren uncover the quilt one day they will want to know! So will the historian, the neighbour, the treasure hunter, the buyer.

Material make-up is very useful information for care instructions. I work almost always with cotton, including cotton batting and thread, so this helps any recipients present and future know how to wash it and care for it. If I use something different, then I include that. You could get super detailed here and list the thread used, batting chosen, and even fabric lines. The level of detail here is personal, but at least include material make up.

I know that labelling is a pain. We are so excited to finish the quilt, to wash it, to cuddle with it that we very often skip this system. Including myself in that majority. But I always label a quilt before gifting it. And lately I’ve been feeling the guilt of not having all my quilts lately. Might be the Covid stress and fear of the unknown - what quilts will outlive me? The solo show I had recently forced me to label a bunch of quilts as I did not want them going out into the world with no record.

As for ways to make labels, there are as many ways as there are quilts. I’ve seen people screen print fabric and sew it into the back of the quilt, embroider and stitch on a label, write right on the back of the quilt, sign the front, get custom labels printed, and appliqué something. Myself, I’ve done fancy ones where I’ve used leftover fabric for framing before stitching it onto the back, printed ones with special papers, intricate traced designs, and plain writing on white fabric. The last one has been my go-to of late. I use scraps of white fabric and a Micron pen to write it. Every now and then I might decorate the label with fabric markers. Nothing fancy, easy, and gets the job done. Unobtrusive too. Most importantly, it is there.

One last thing, a little tip I learned years ago. If you are gifting a quilt that will be used in a public setting like a dorm or care home, undo the binding and write some info on the inside of the binding before stitching it back up. Labels that are stitched on can be removed if someone really wants to claim the quilt as their own. But having a signature hidden in the binding then ownership can always be proven.

August Morning Make 2021

Morning make Euroa Quilt Cheryl Arkison.jpg

August was set to be a busy month with a lot of motion. Camping and a vacation in between the reality of working and caring for kids. I started the month wanting something portable and to keep scratching the hand stitch itch. Committing to the Euroa quilt was an obvious choice.

Morning Make Euroa Quilt Cheryl Arkison.jpg

From start to finish in the month I made 7 whole blocks. That might not sound like much but considering that, on average, I made 20 blocks per year for the past 3 years I think that is pretty good! This gets me to 70/100 in my goal for this quilt. I started the month cutting fabric and prepping to baste and piece the first block. I worked one or two blocks at a time, the same way I’ve been making the entire quilt. So some days I was prepping, some basting, some assembling. Some days I had an hour or more, some days only 20 minutes. But like always, I was doing my Morning Make before consuming anything - social media, caffeine, the news, or even hot water in the shower.

Morning Make Cheryl Arkison.jpg

We had the opportunity to go camping a few times in August, once to the Jasper area and once to the Sheep River. It was about connections with family we haven’t seen and connections with the outdoors. I still started the day with Morning Make though! Then we could hike and kayak and and swim and wander the forest and laugh together. The best of all worlds, even with the dirt and outhouses. Later in the month we visited Waterton for more of the same, but we splurged on a hotel. This was to make up for a cancelled lake vacation because of forest fires. Still more family connections, kayak time, forest time, and sewing in a fancy lodge while tourists stared at me slightly less than the magnificent scenery!

Morning Make is often portable, unless I commit to a sewing machine project, so there is no excuse to miss it. Besides, while vacation is also good for my mental health, the daily creative practice of Morning Make is even more important.

Morning Make Cheryl Arkison