0
items
$0


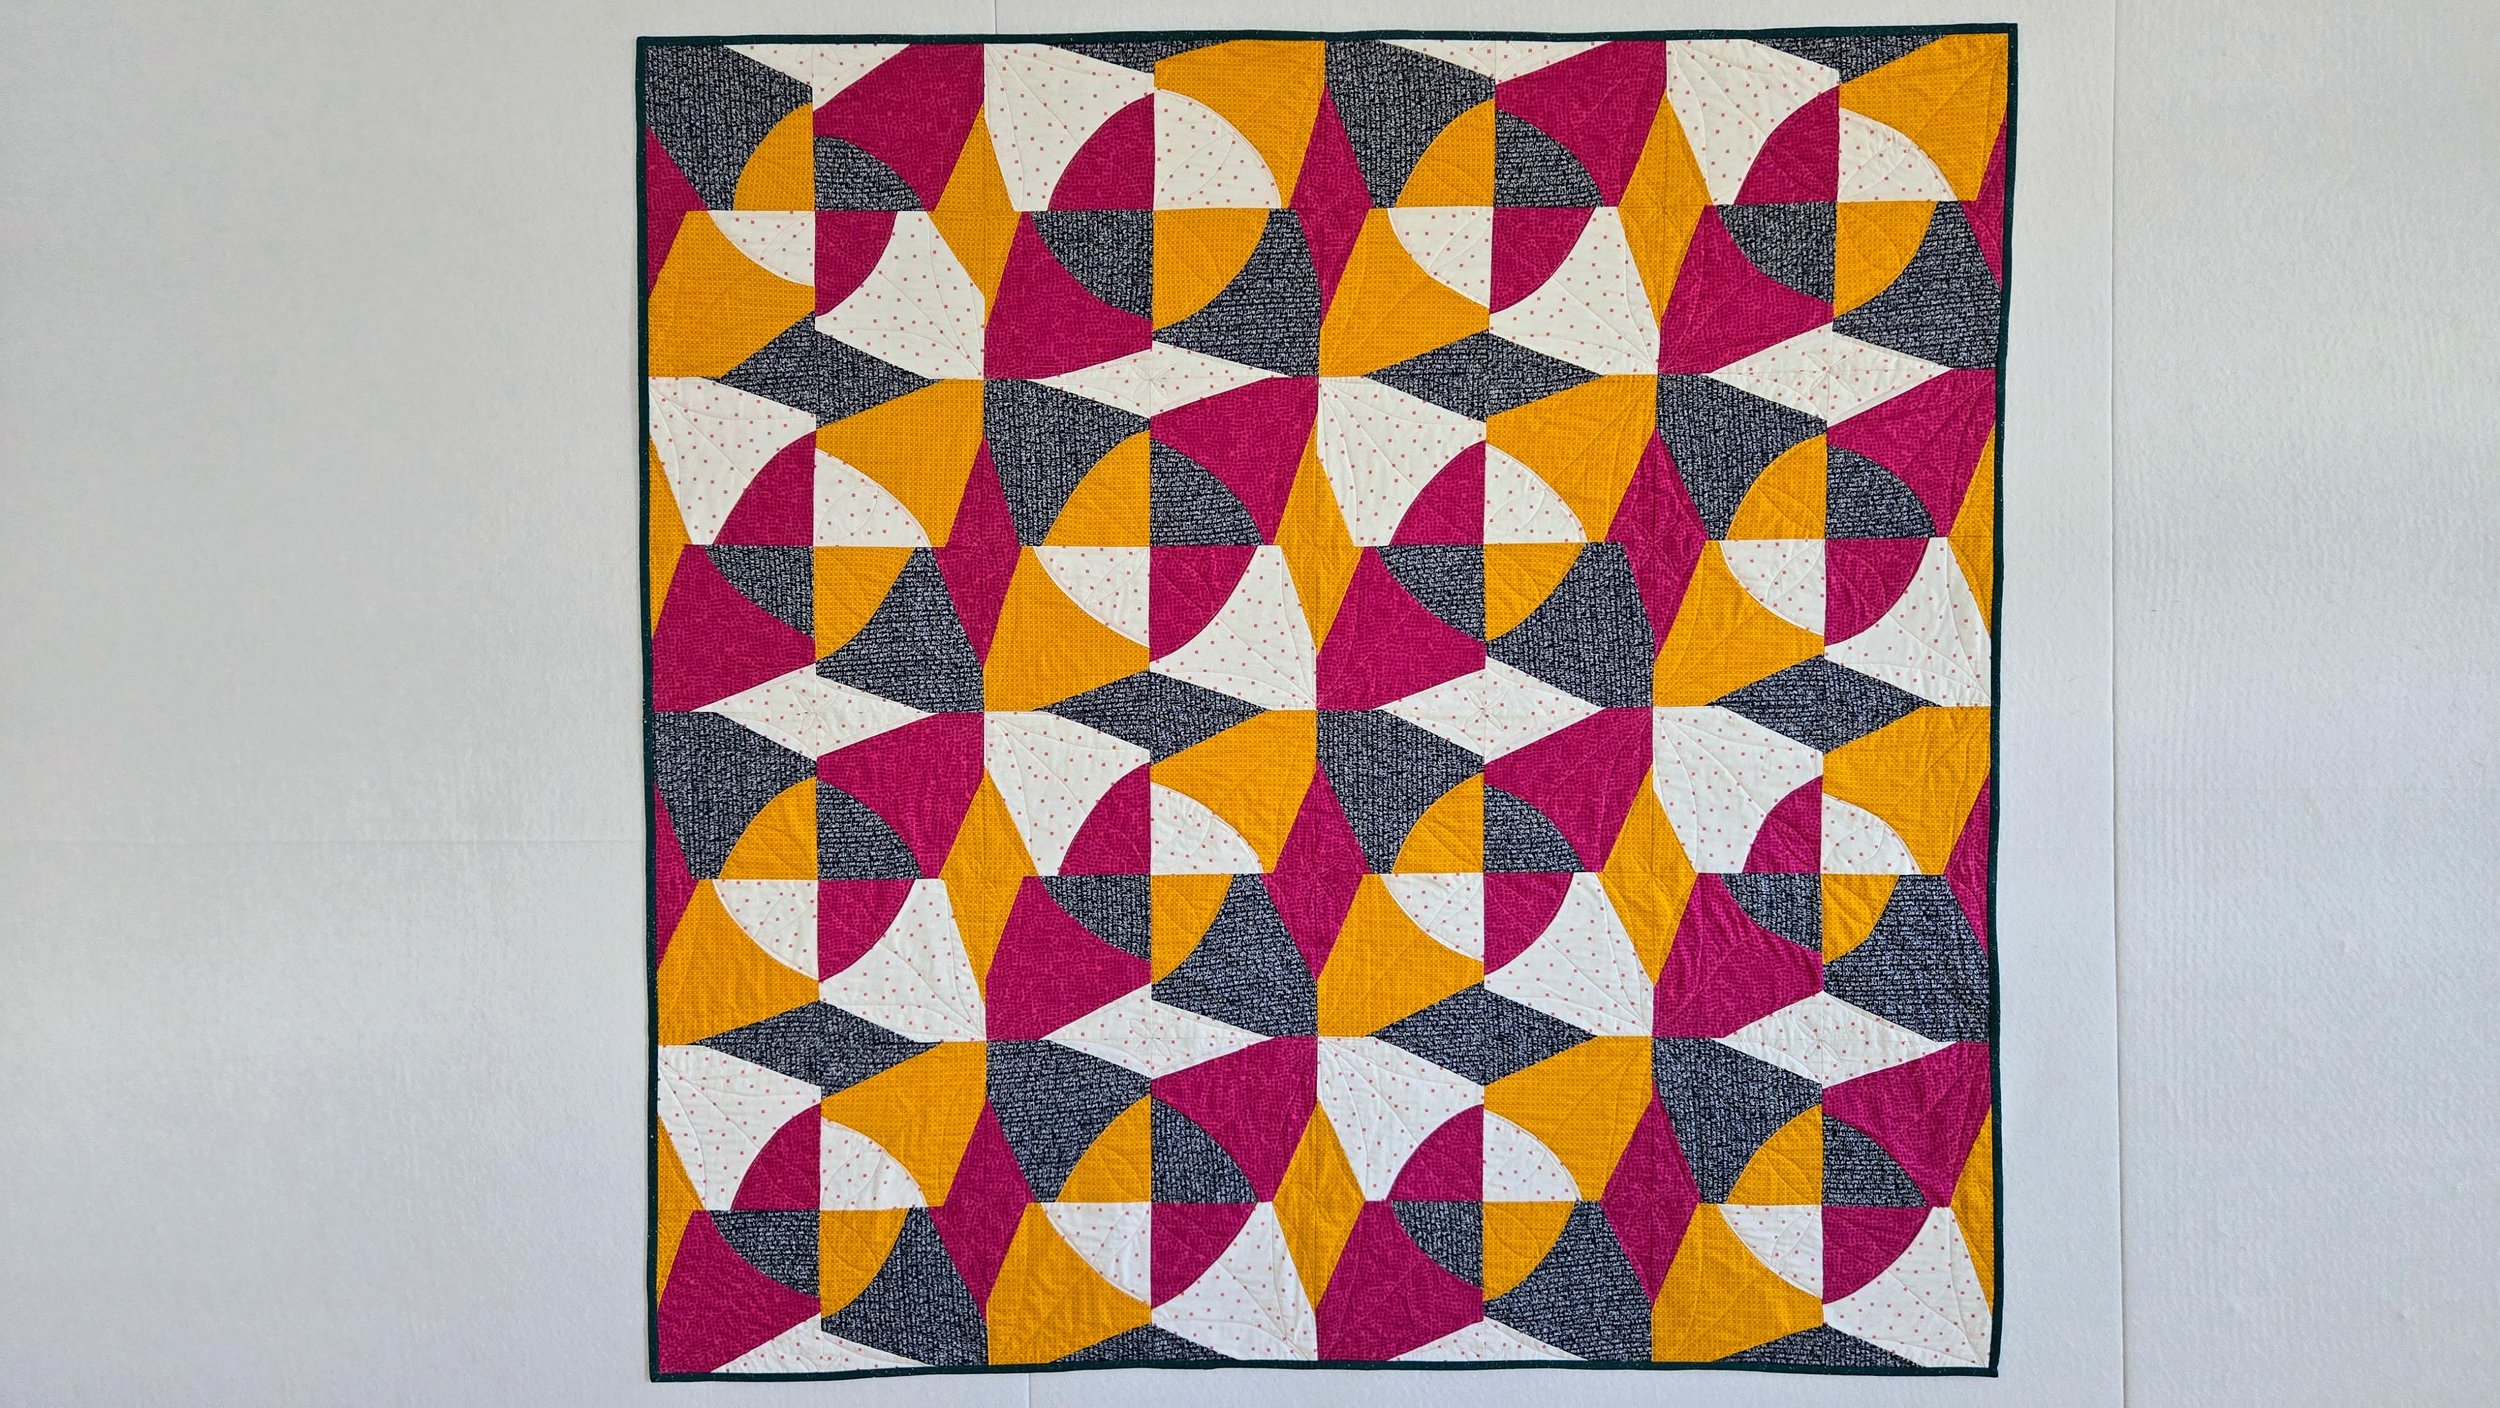
Ellery - Play with Improv Curves and Hand Dyed Fabric

Ellery
72” x 72”
She’s the kind of girl that smiles with her whole body. Just being around her makes you feel better about your day, your choices, your life. Yet she isn’t a relentless cheerleader or terribly outgoing. She just is the way she is and that way is full of light.
I started this quilt during a very dark time. A few years back I was in the midst of a clinically diagnosed depression. I was put on meds, went through months and months to find the right ones for me. I did some therapy, I went back outside, and I made. Thankfully, making never went away for me when the dark days were strong. But I did need to find a bit of extra joy in the making.
Pink is such a happy colour to me. In a way, I was kind of forcing it, choosing to play with pink. Fake it until you make it! And pink with my ultimate comfort block: the improv curves? I won't lie, it did make me feel better. Not a cure for depression, but a very good step in finding my way again. I am so much better now, but she is still giving me joy.


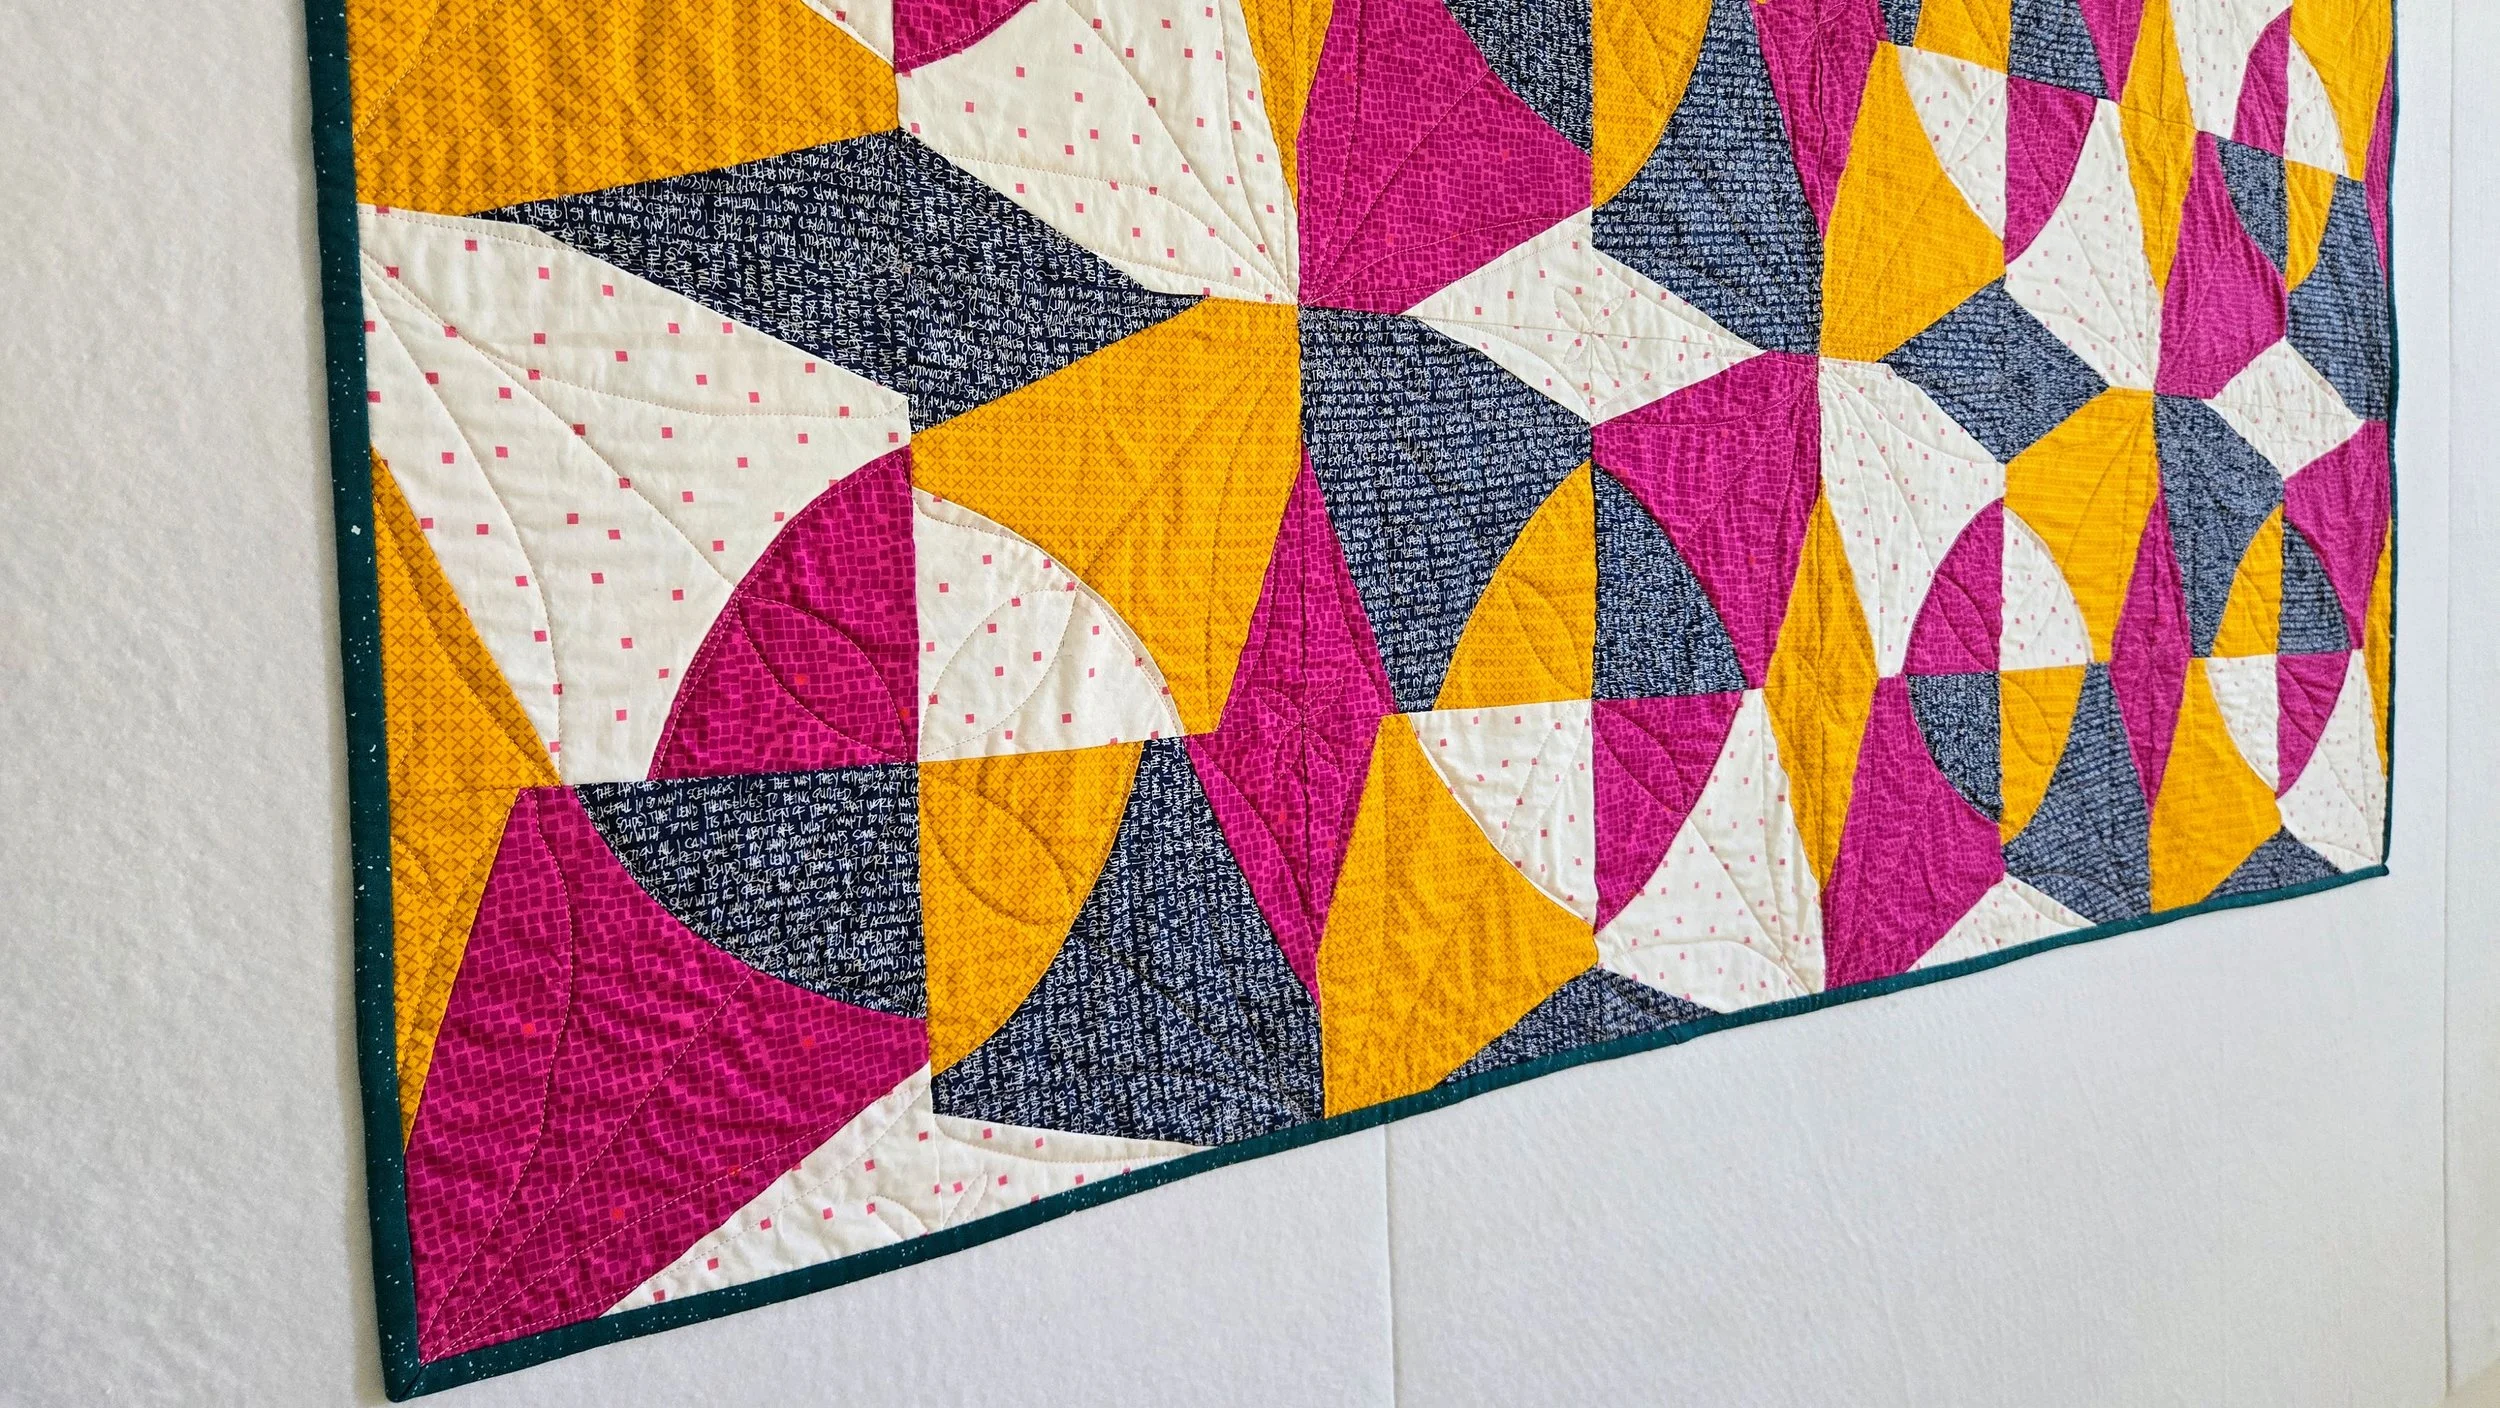
Hand quilting the entire thing, even when I am not that good at it, was the right call. Sometimes you need to sit with things longer. Sometimes you need to be reminded of what she brings you. Dark beginnings, but a contented outcome. (Even with the wobbly stitches and big accidental deviation from my quilting plan.) I used a collection of pink 8W threads, I think most were Eleganza by Wonderfil. I marked the quilt with my Hera marker only because I never trust marking pens to come out. It was a bit of a challenge when I was quilting in the dark mornings of winter, but nothing is impossible. When I started I was stab stitching, the only way I had hand quilted before. I didn’t like the results, though, so I watched Tara Faughnah’s course on hand quilting and was able to find a rocking motion that helped, even if I could only ever pick up two stitches at a time. My results were more even and that’s what mattered.
Now, I have hand quilted an entire quilt before, but smaller ones. I really liked doing it and can see myself doing it again. Indeed, I am finding that doing my Morning Make at home without a machine available is inspiring some hand work ideas. I see myself adding handwork elements and now entire quilts to the creative routine.

The background I chose was a bold large scale floral from Ruby Star Society. I wanted to pattern match but did not buy enough fabric, so there is one corner that contrasts, with a big yellow curve cut into the floral. Yellow is equally a happy colour so it is a fun addition.
To bind her I returned to the hand dyed fabric stash (all the pinks are hand dyes) and pulled this bold turquoise. Another happy colour! You know I love a contrasting binding and this felt so perfect.
My mental health is a lot better now and while I cannot give full credit to quilt making, I have no doubt that this quilt played a role in my recovery.