"quilts"

Small Piecing Pays Off

When your only goal is to clean up some little bits of fabric leftover from another project you don’t expect to launch in to sewing an epic quilt. In truth, most of my quilts start with zero intention of being a finished quilt. Rather, it is just something to sew at that time; some experiment to try; some play to improve my mood. So when I had those leftover red squares from this quilt I just sewed them together with some low volume scraps so that they wouldn’t go to waste or get lost. I had no plans, no design, no lofty goals.

But…

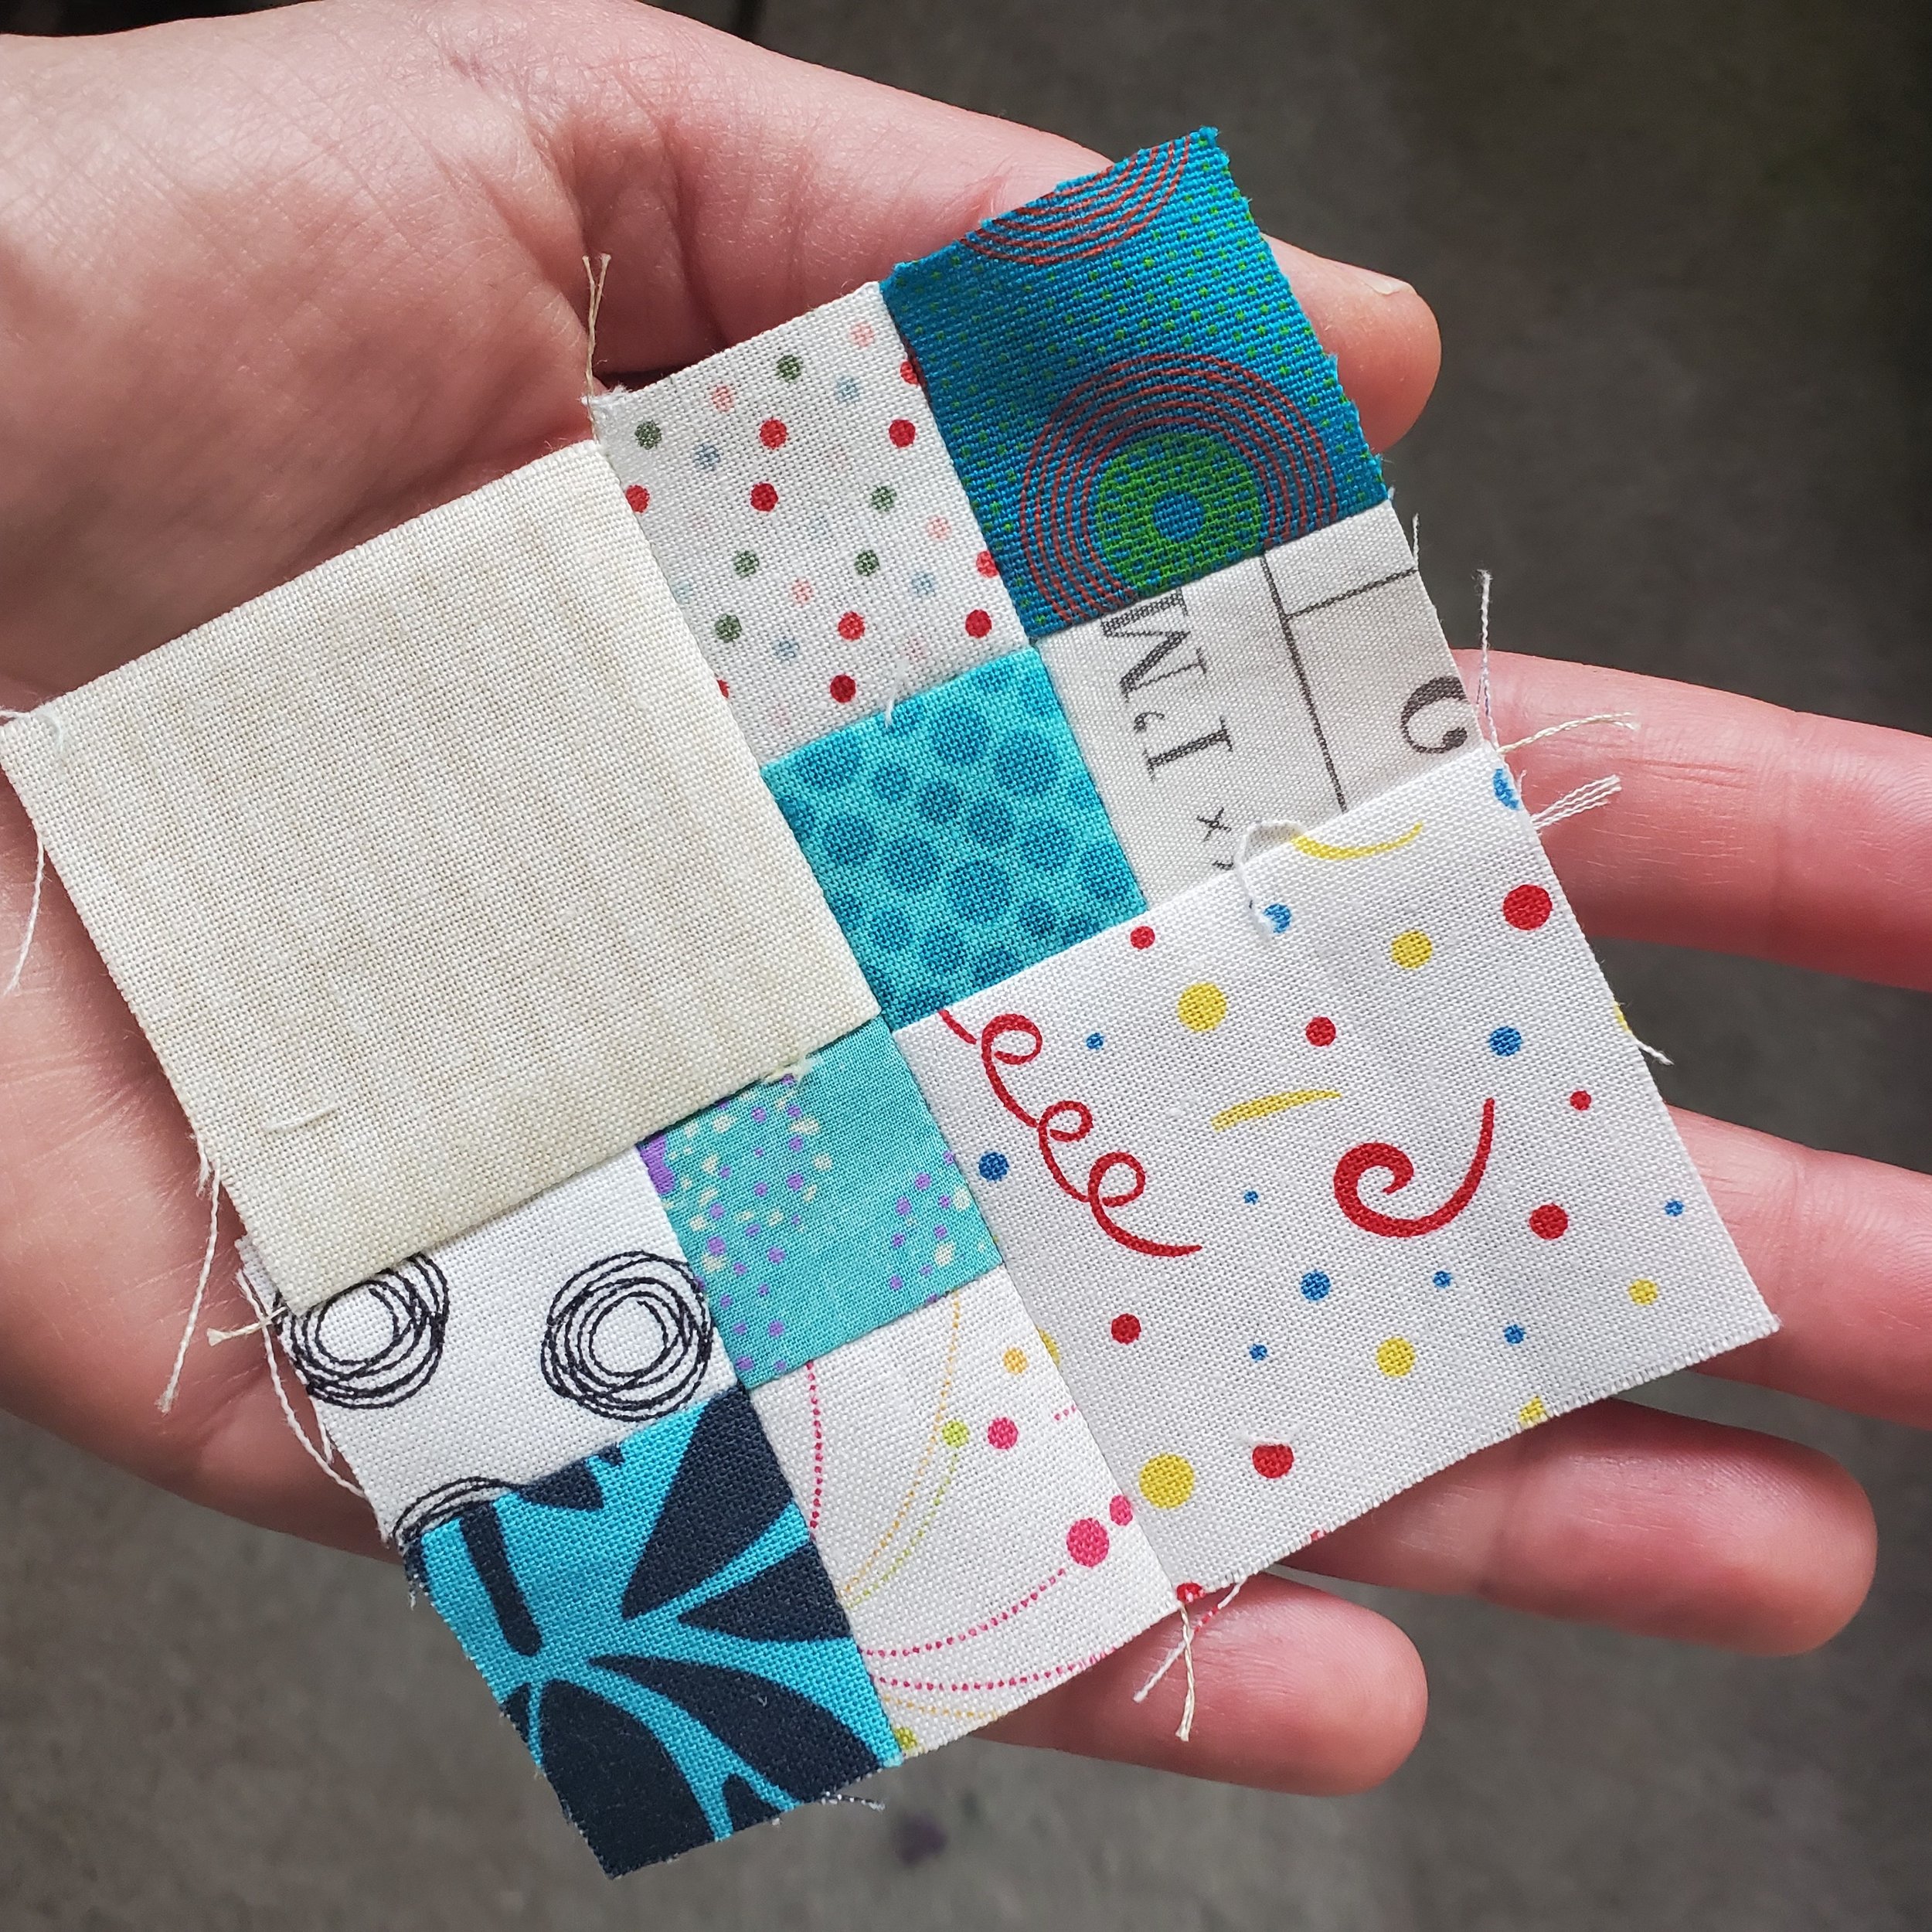
They did look quite good together. And what if you sewed two pairs to each other? Oh look at that cute 4 patch! Hmm, there might be something to this…

Reader, there was. I started adding turquoise, then green 4 patches. Those colours look great together and it was all so cheerful. Of course I have a tonne of low volume scraps so I could use them up too. So now I made a 4 patch of two 4 patches. Oh boy, this was getting good!

A 4 patch quilt block made from a few 4 patches in turquoise and white, held in a white hand

One thing led to another, one block led to another, and even though I sewed a whole pile of blocks I still had no clue where this was heading. Sure, it would be a quilt one day, but just how far was I going to go?

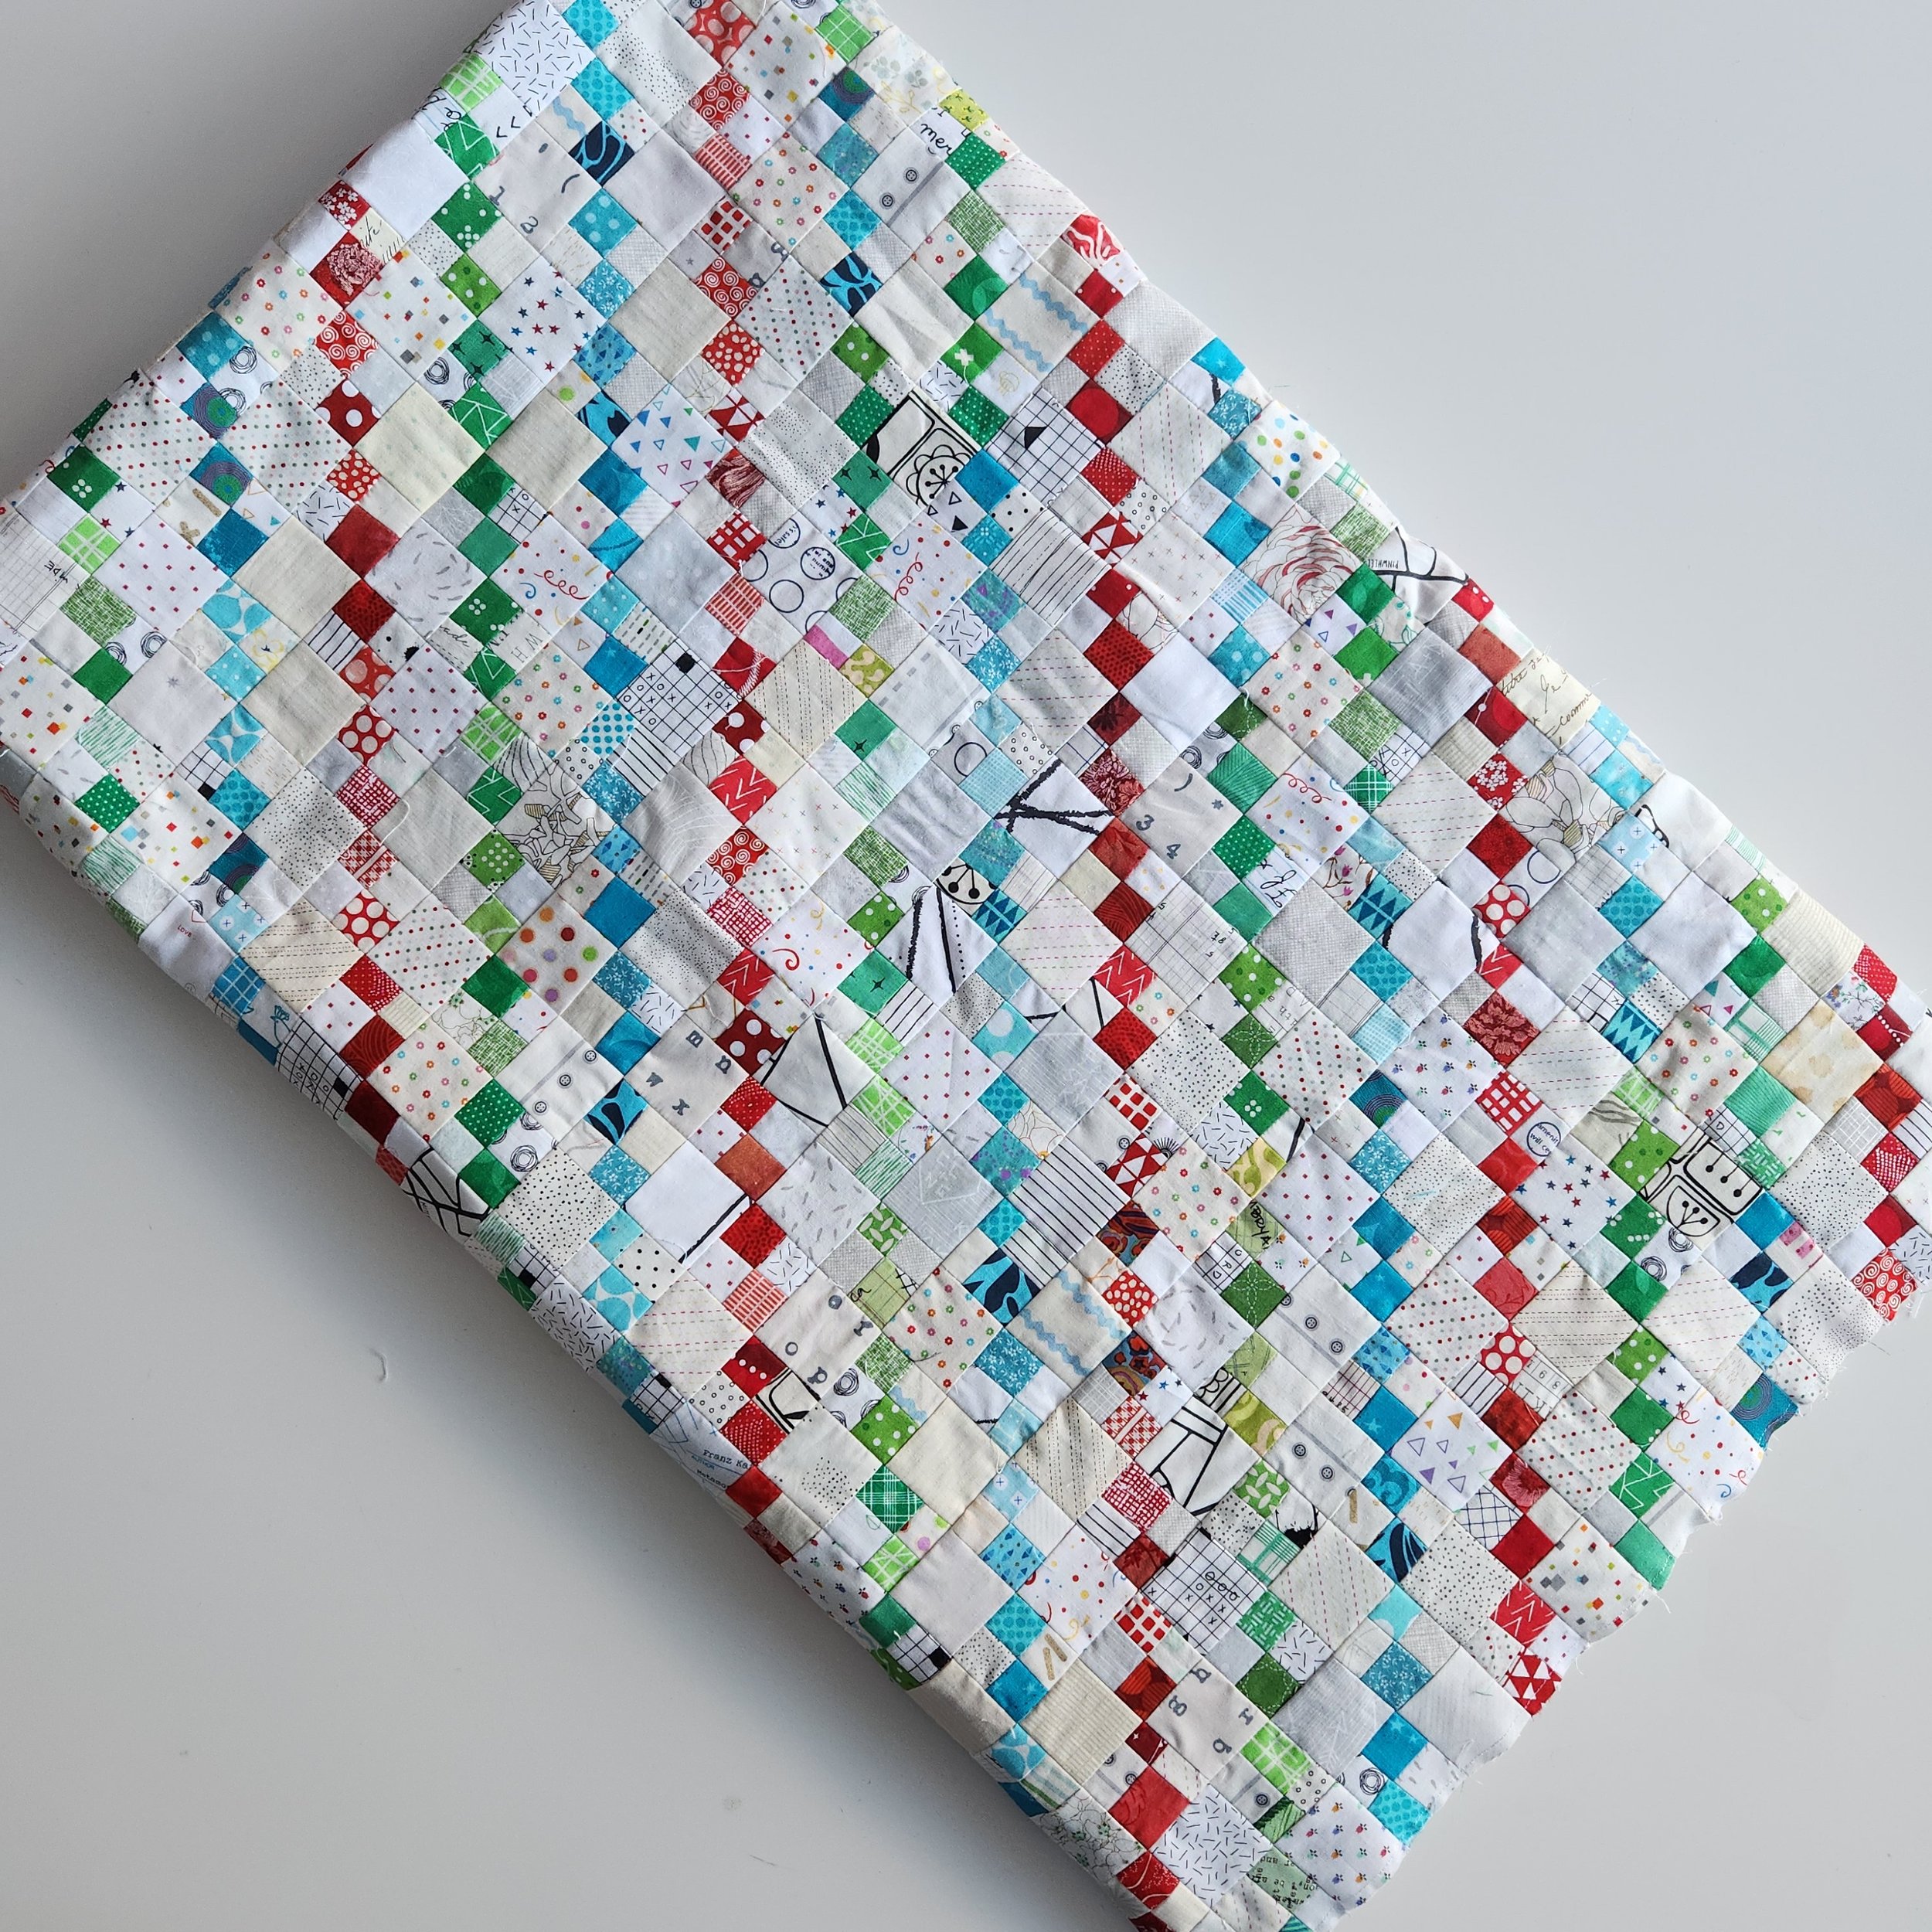
Quite often I just sew until I get bored. Then the quilt is as big as that many blocks, give or take a few. I use what I made to puzzle together something (hopefully) cool. In this case I reached a point where some actual planning was required. Since I don’t like to make small quilts I did some math and even sketched out the layout to see where I needed to finish. This was my guide for sewing.

Most of the blocks were made as leaders and enders while making other quilts. I kept a bowl of the coloured scraps and a bowl of the low volume scraps by my machine and sewed a pair together at the end of any other seam. These would pile up until I felt motivated to press them. Then I would make the 4 patches as the next round of leaders and enders. At some point these would get both pressed and squared up. That required more motivation because I was squaring them up to 2” by 2”. Tedious work. Then those would get sewn to a low volume square in the next round. Pressing again then the last seam to join two of those pairs together. Usually by the last step I was doing some dedicated sewing on these blocks instead of leaders and enders. It was all very reminiscent of this.

Pair of blue and orange glasses resting on a folded quilt top.

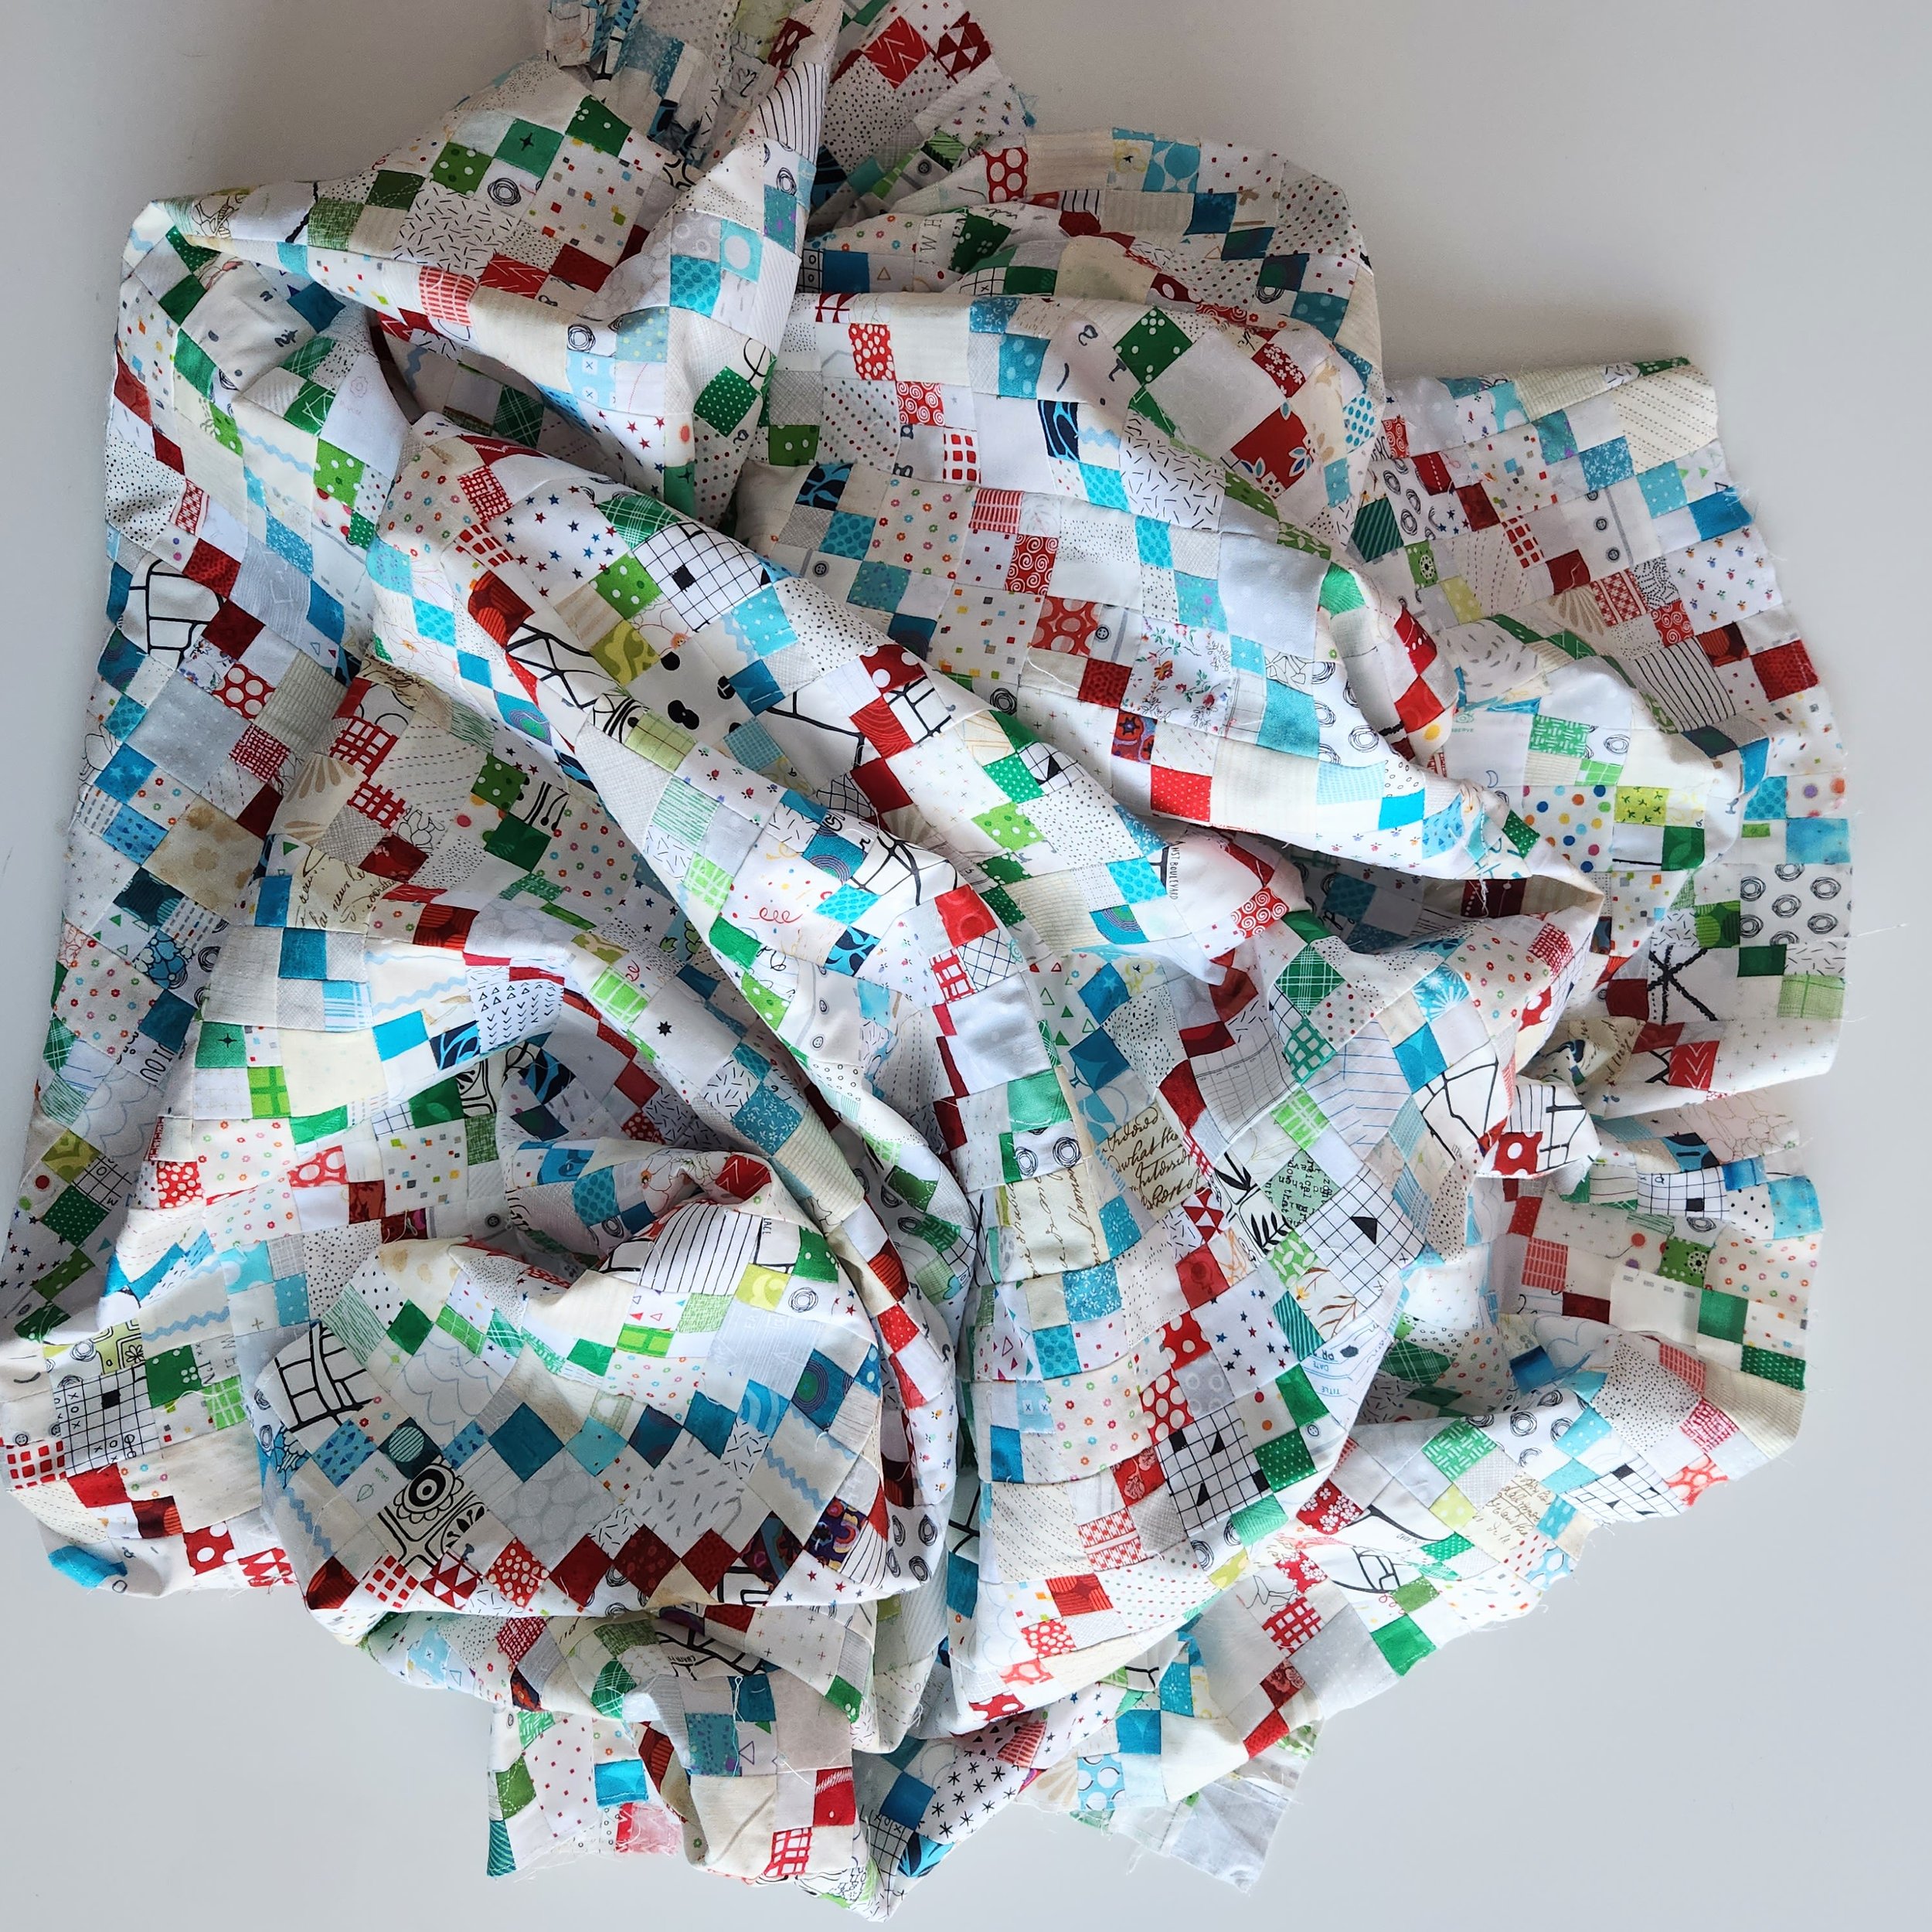
Eventually I became dedicated to finishing all the blocks. If I had started this quilt with the end goal in mind I can honestly say I wouldn’t have started. This was a very tedious make. Don’t get me wrong, I believe all the effort was worthwhile and any time sewing is time well spent. But when you make a quilt from small pieces it can be nearly impossible to see the end from the beginning. Like climbing a mountain when you have no idea just how high it is. Or deciding to swim across the lake without knowing how far it really is. It’s all possible, but it is going to take some time to see the final achievements. So even though I had a specific plan and number of blocks needed, it was hard, in the years I’ve had this quilt ongoing, to see the finish. Glad to be here now. Real glad.

Now that the quilt top is done I will probably get it quilted fairly soon. It isn’t impatience that motivates me, it is a desire to not have to press this quilt top again. That was a lot of seam management there!

Oh, and for those wondering, the quilt top finishes at 63” x 81”.


Toque Block Swap

Improvisational sewn toque quilt blocks in a snowy spruce tree

Have you heard about the Toque Block Swap?

It’s a fun, playful swap that came out of the Quilters’ Playcation Adventure Sewalong. I made a toque block one week and by the end of our weekly live I had committed to organizing a swap!

Anyone can sign up. You can make 1 block or you can make 20, it’s up to you. Mail your blocks to me, I will swap your blocks for the same number made by other participants and send them back to you. The tutorial to make the block is here, but feel free to individualize things however you like.

Sign up now, deadline for mailing blocks is January 10, so I hopefully receive them all by January 20, 2023. (So you can get through the holiday season without any sewing stress from this, and maybe even relieve some stress by playing.) Then my plan is to get all swapped blocks mailed out by the end of the month.

Sign up here.

Scandi Village Update

It isn’t so much that there are quilts just for winter in this house (although, there are a few), it is more that there are quilts I want to play with making during winter. This Scandi Village is one of them. I put it away after last winter and couldn’t resist pulling it out when the snow came recently.

Of course, the upcoming Scandi Village Party has a little something to do with that.

For this year I’ve designed an additional block - the A Frame cabin - to add to the village. I love it so much that I will definitely be doing a little surgery to add blocks in to what I’ve already sewn.

At some point I will have to stop making blocks for this quilt but I am not quite there yet. The blocks are just too damn cute and so easy to make. And you can make them any size you want. Hmm… if I do ever finish the top I could make some large blocks for the back.

In the meantime, I would love it if you want to join me at the upcoming Party. I am sharing my favourite snack cake recipe, we’ll be making blocks, and generally having a good time.

November 17 6-9 PM Mountain

For Sarah Golden

Sarah Gold Mini

16” x 20”

It was a few years ago, in the middle of another lockdown, that I became truly entranced with the work of Sarah Golden. Something about her shapes and colour use, not to mention that we are birthday twins, just got to me. One day she posted some paper collages she was making. It was instant inspiration and I wanted to turn it into a quilt. With her permission I explored the handmade and the shapes of her work but in fabric and thread.

Here is the inspiration image:

Sarah Golden paper and painting collage

To make the mini I dug through my stash for the right colours to reference her original piece. Some of my finds meant that I did not have to piece all the sections, but let the fabric talk. In the end, the components of my quilt collage were a combination of improv piecing, appliqué, and single fabrics. Then I used embroidery and hand quilting for additional details. I even matted my details like she did, with a ground of white.

Hand embroidery and quilting details on a gold, black, and blue improv quilt
Details of a gold, black, and blue improv quilt

Not entirely sure why it took me so long to finish this quilt. It’s just a mini! Yes, there is a lot of work in this small space, but that isn’t it. I just went in fits and starts on it. But it is finished now. Bound in a fabric to look like a wood frame. Sent to Sarah as a thank you for the inspiration.