"handwork"

Euroa Quilt Update - October 2018

Euroa Quilt English Paper Piecing

So, it’s been what? 17 months?

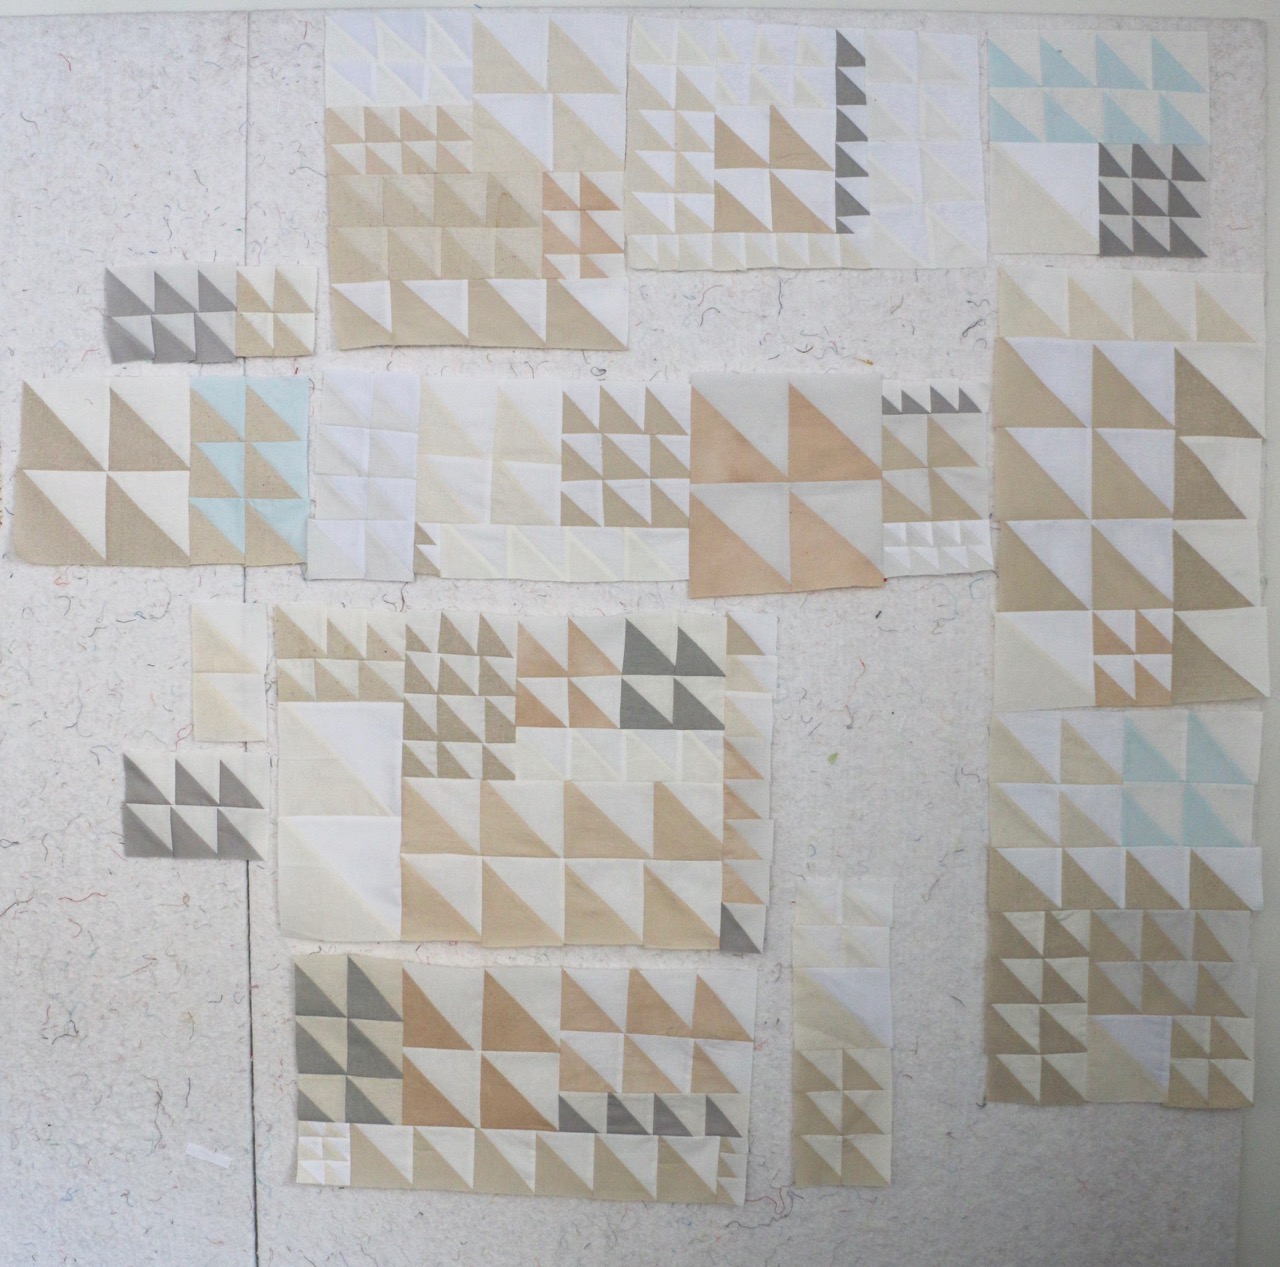
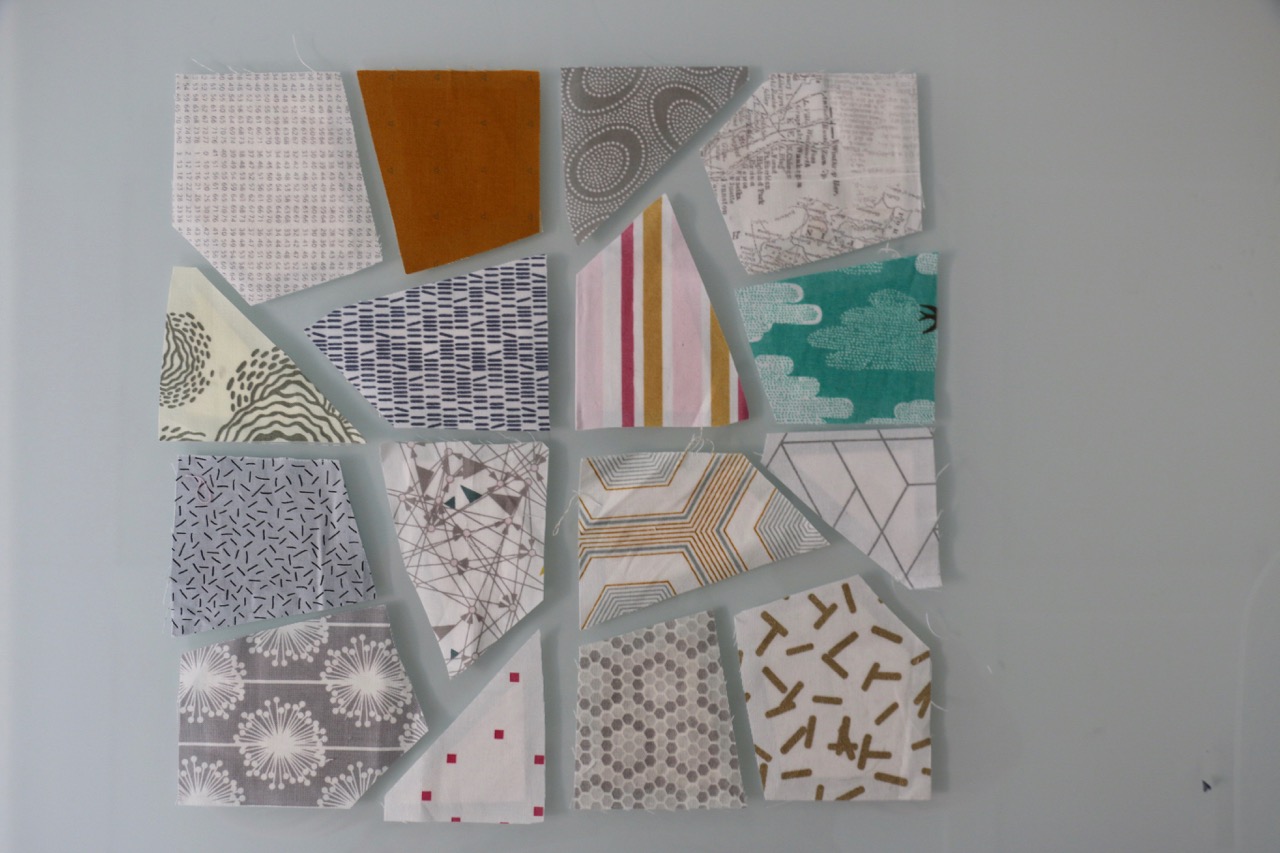
I started the Euroa Quilt in May 2017. One baby block at a time. 400 of those. Four together to make 1 block. 100 of those. Four of those then together to make a mega block. 25 of those. That’s the plan.

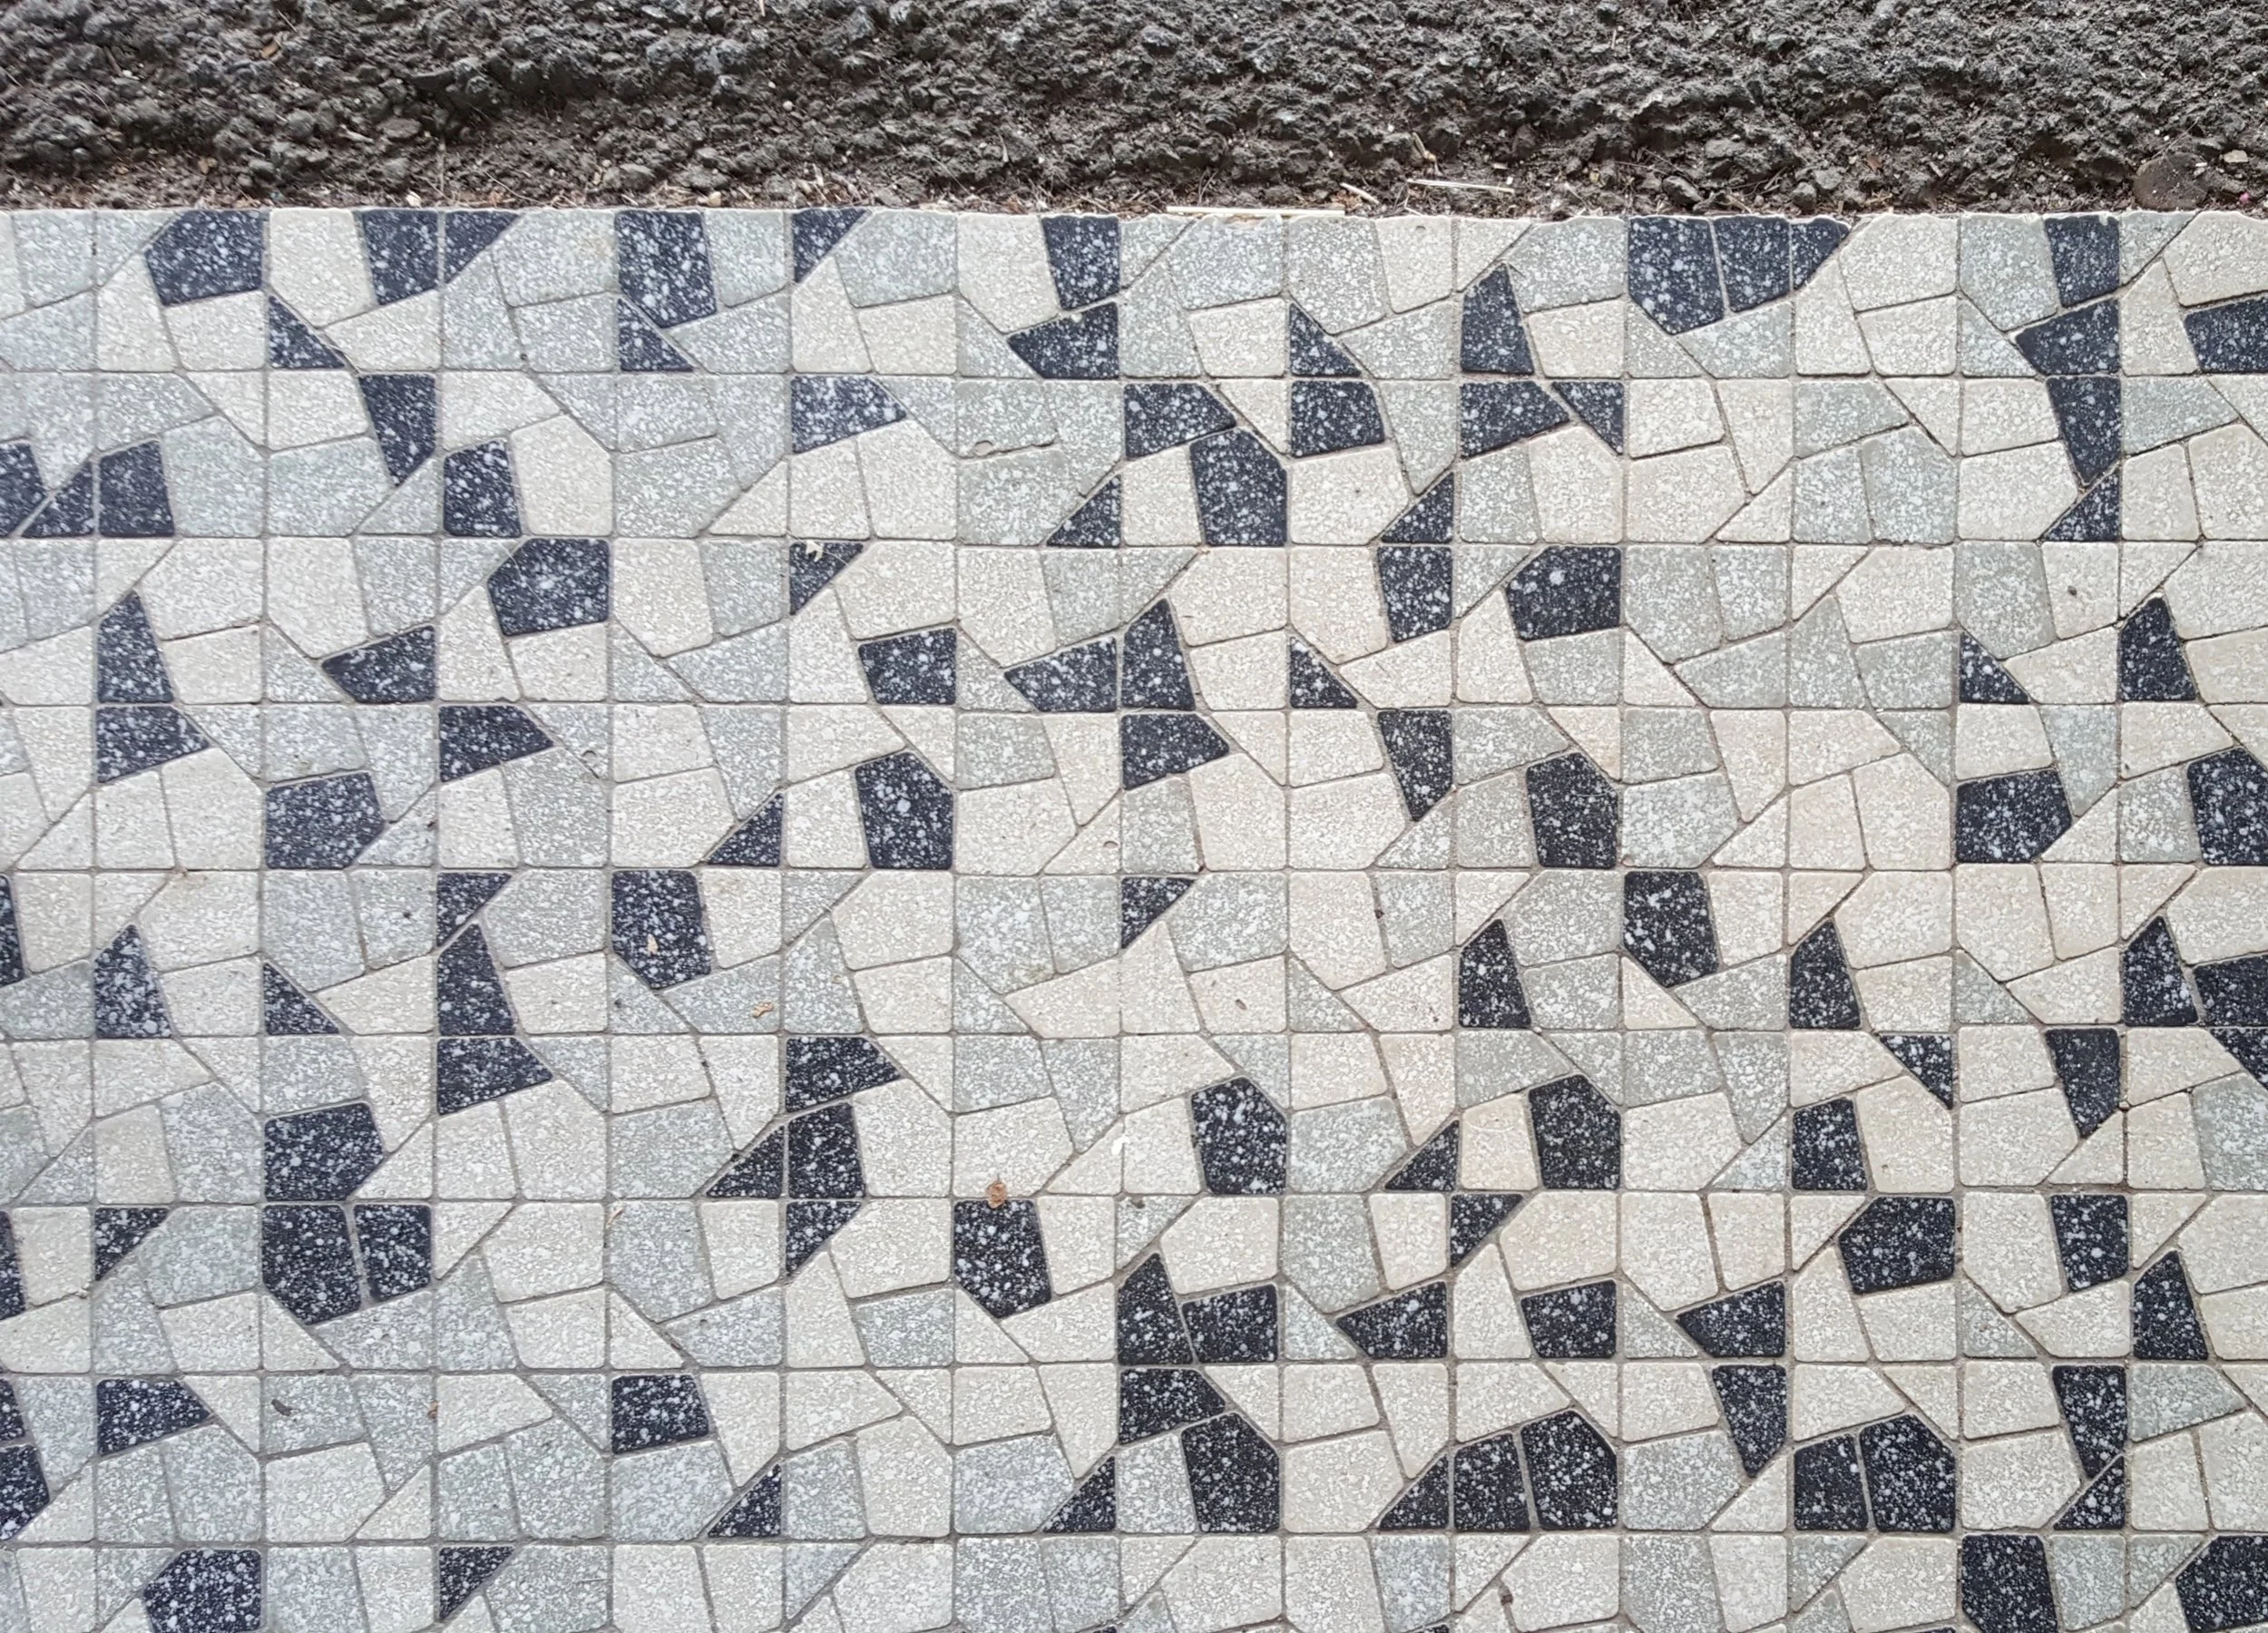
For anyone new here and to remind you all, this is the quintessential “Quilter Inspired by a Tile Floor” quilt. I snapped a pic in a doorway in a small town in Australia. That town was Euroa. It turns out this is not an uncommon tile pattern in Australia in the Mid Century. This quilt is an homage to that trip in so many ways,

Here’s where I’m at.
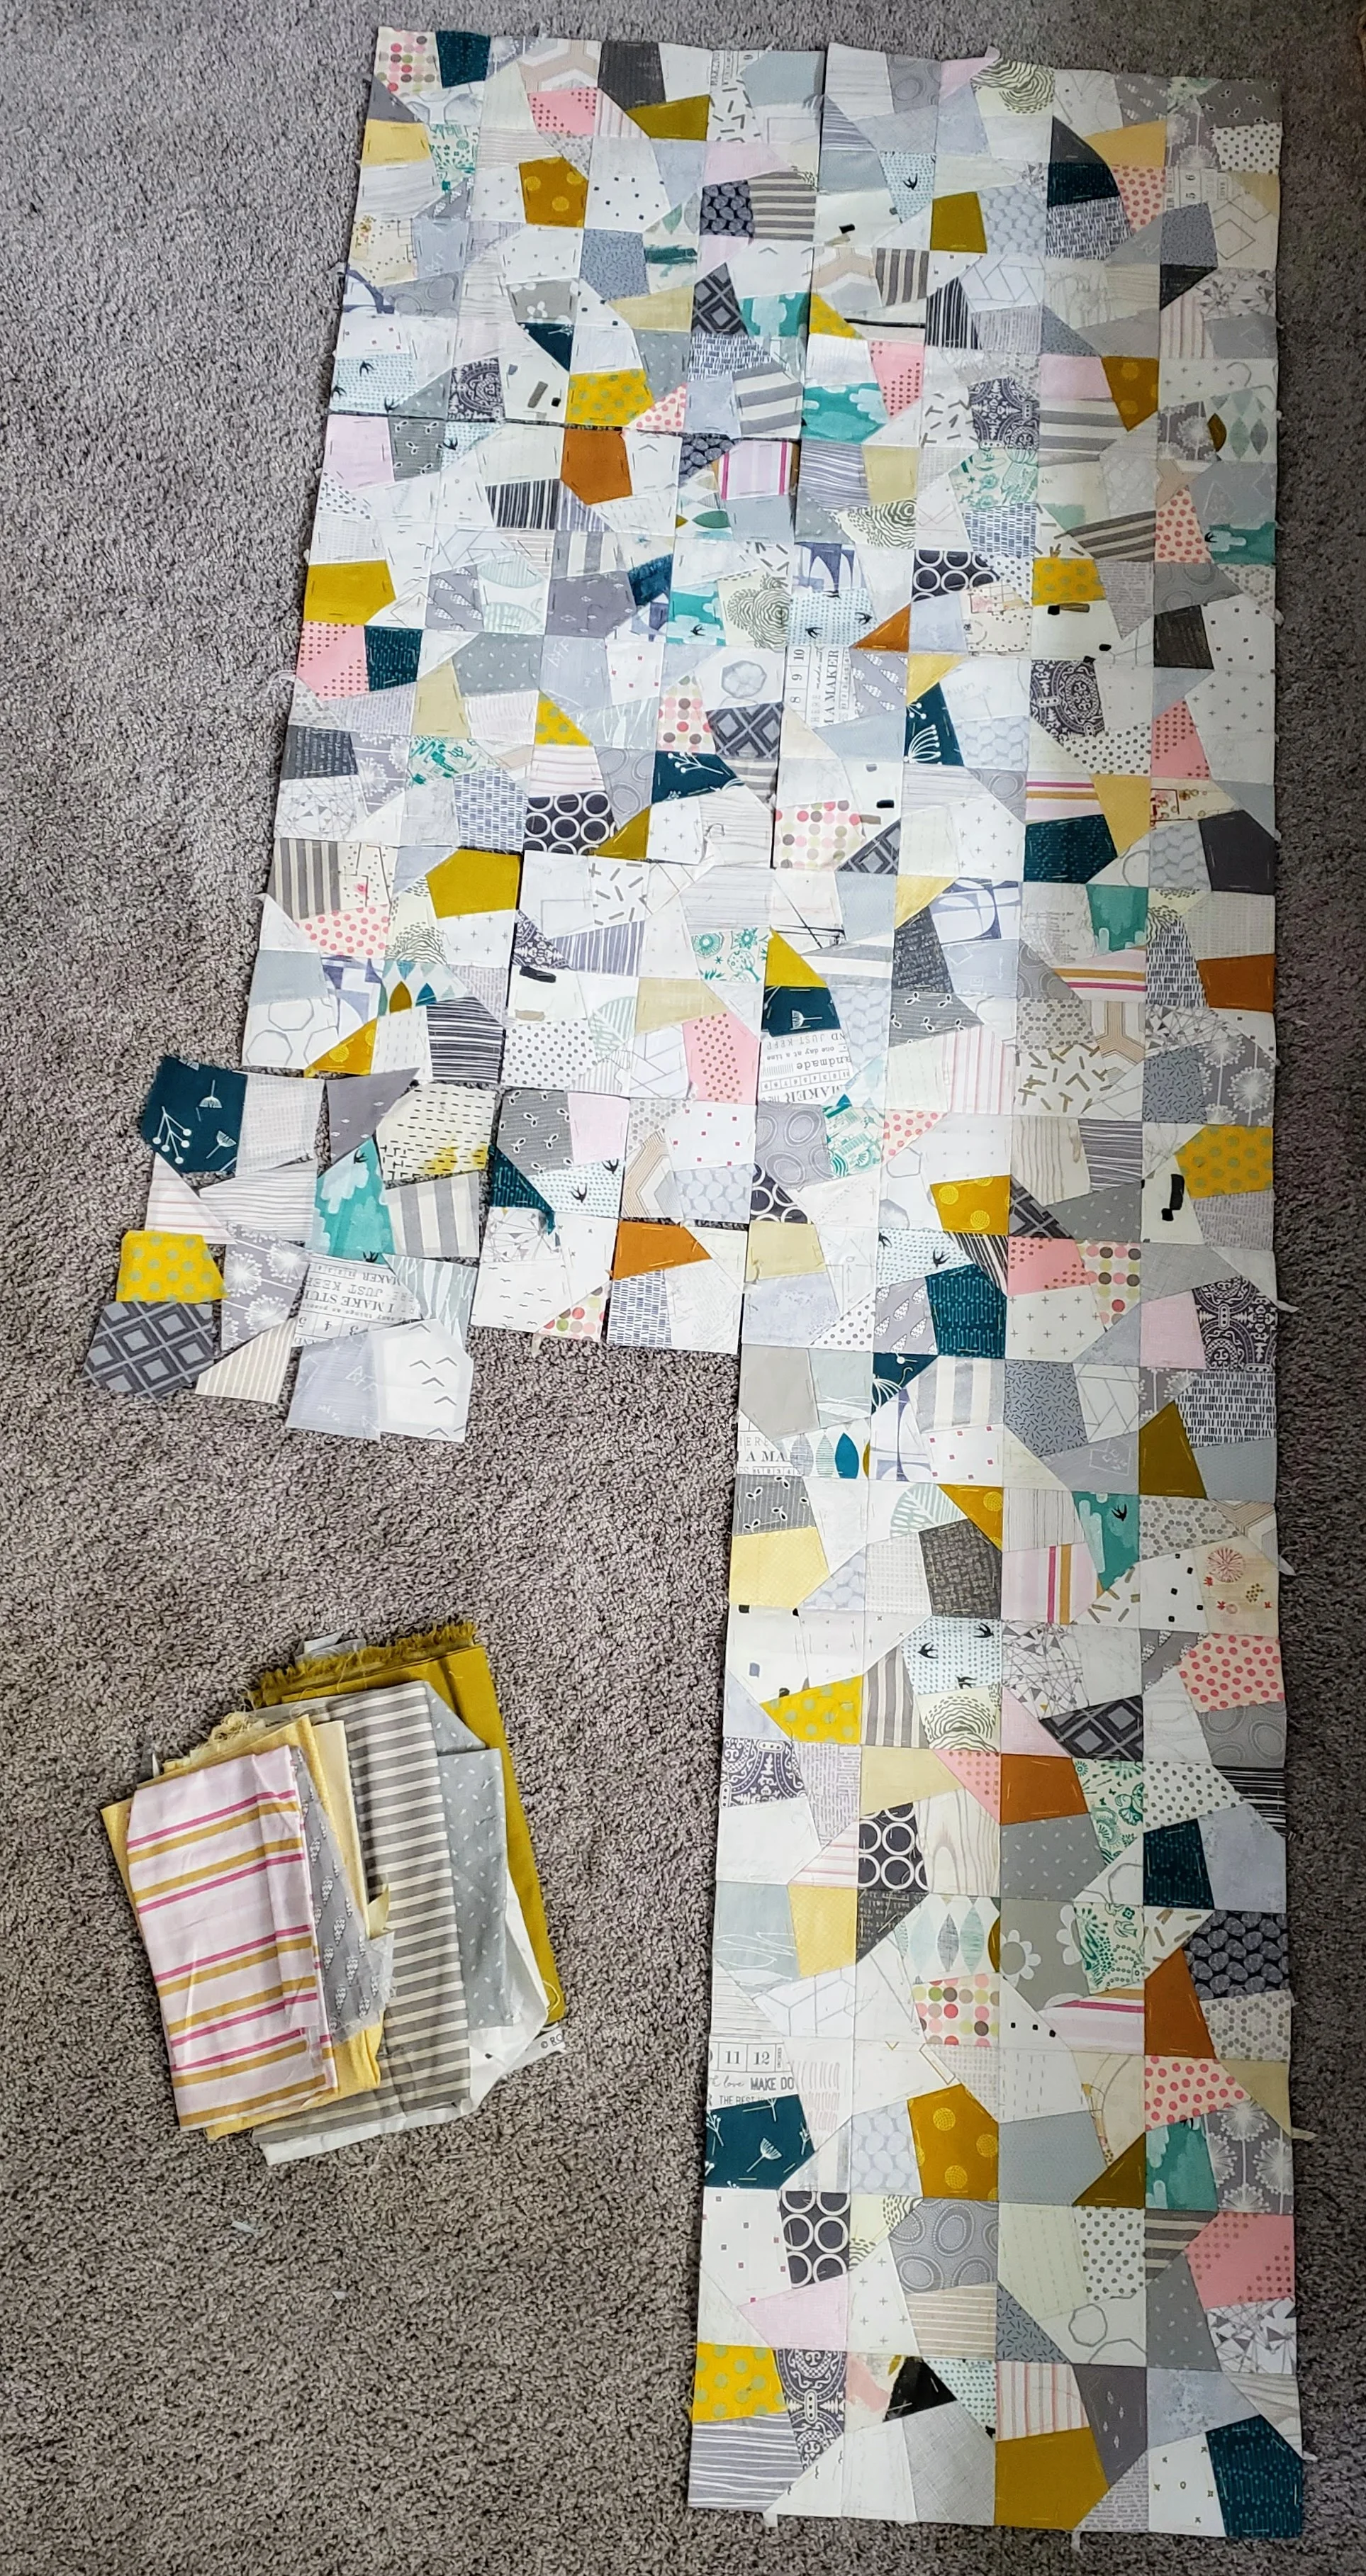
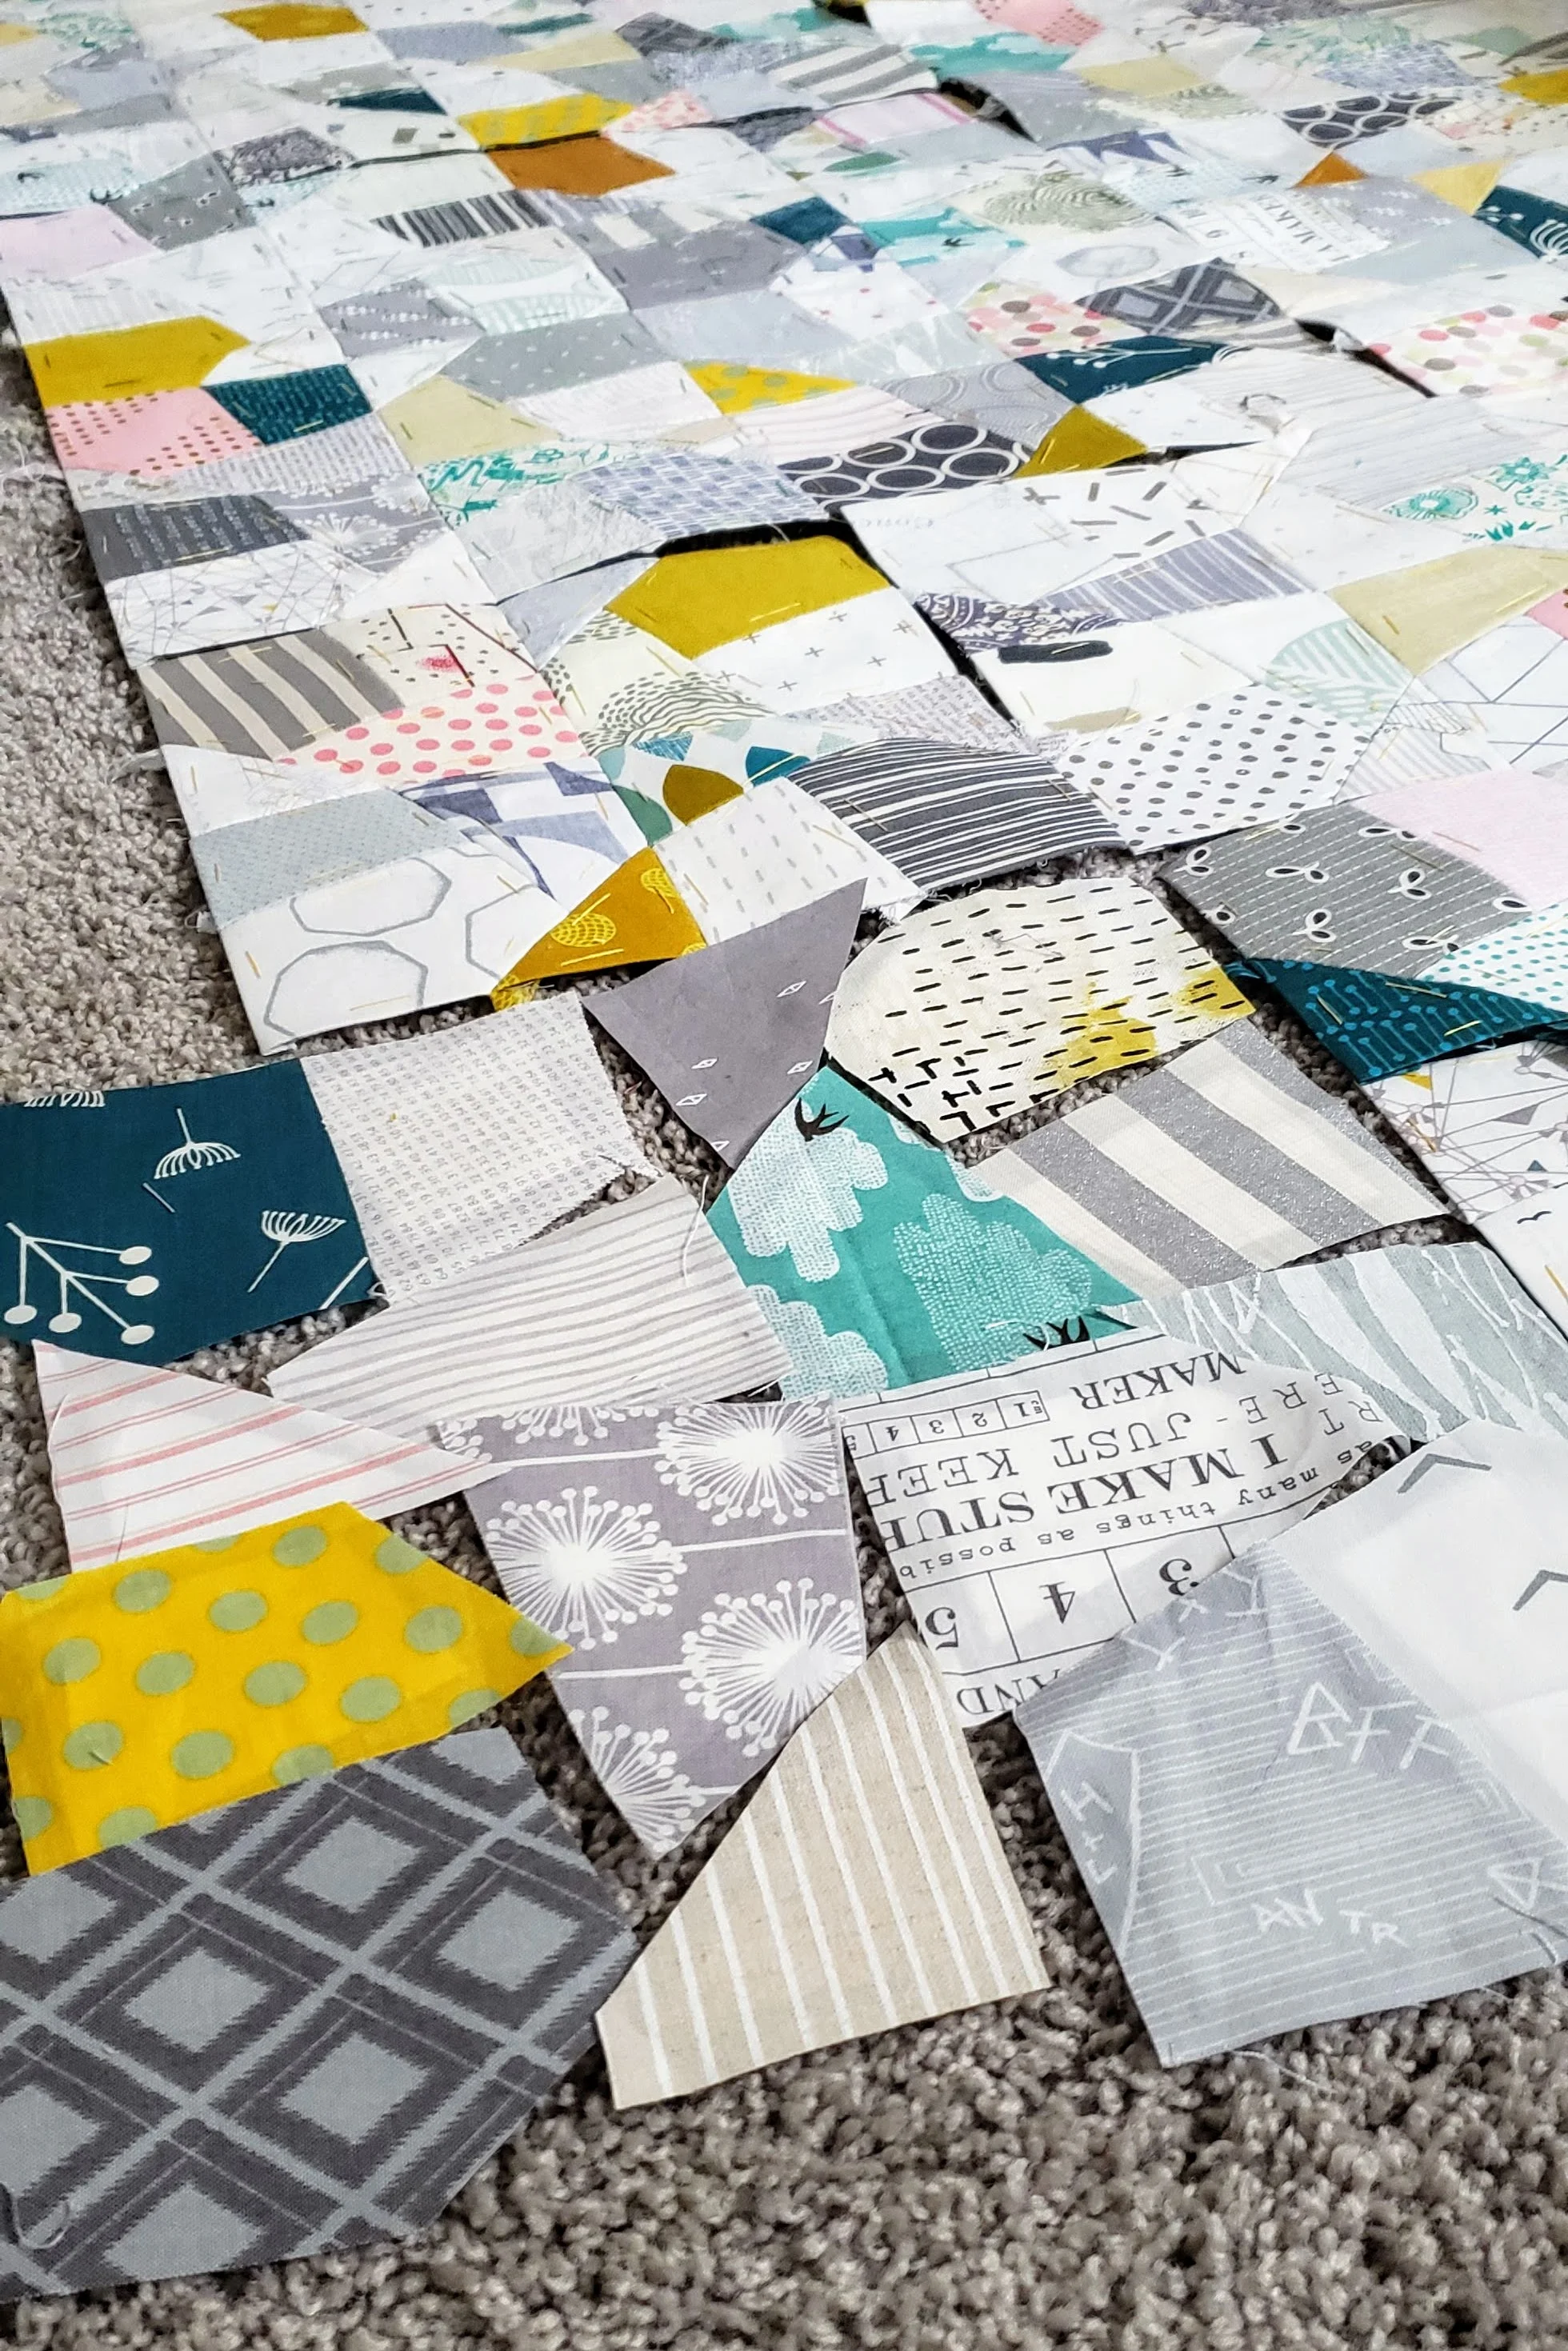
Modern English Paper Piecing

7 Mega Blocks.

30 Blocks Done (and 1 in final assembly)

3 more blocks prepped for hand stitching.

That might seem slow to you, but it seems about perfect to me. I do this project in quiet moments at the summer campsite, while hanging out at the pool/ballet studio/fencing gym, sometimes while watching TV, and on the rare quiet Sunday when I feel like handstitching instead of being interrupted reading. I didn’t stitch for 3 months last year as I struggled with tennis elbow. Things are a bit slow going right now as I don’t do a lot of sitting (newsletter readers know what I am talking about - subscribe below!) and you can only stitch so much standing up.

The truth is, I am in no rush. You’ve heard me say before that quilt making is about the process for me - the making more than the quilt itself. I absolutely love having such a portable hand work project. I really don’t care how long it takes me to finish. If I did then I would have made this smaller! As it stands, the baby blocks are 4’’. Which means the quilt as I have it planned will be 80’’ x 80’’ of hand stitched goodness.

Euroa Quilt Modern Scrappy Quilts

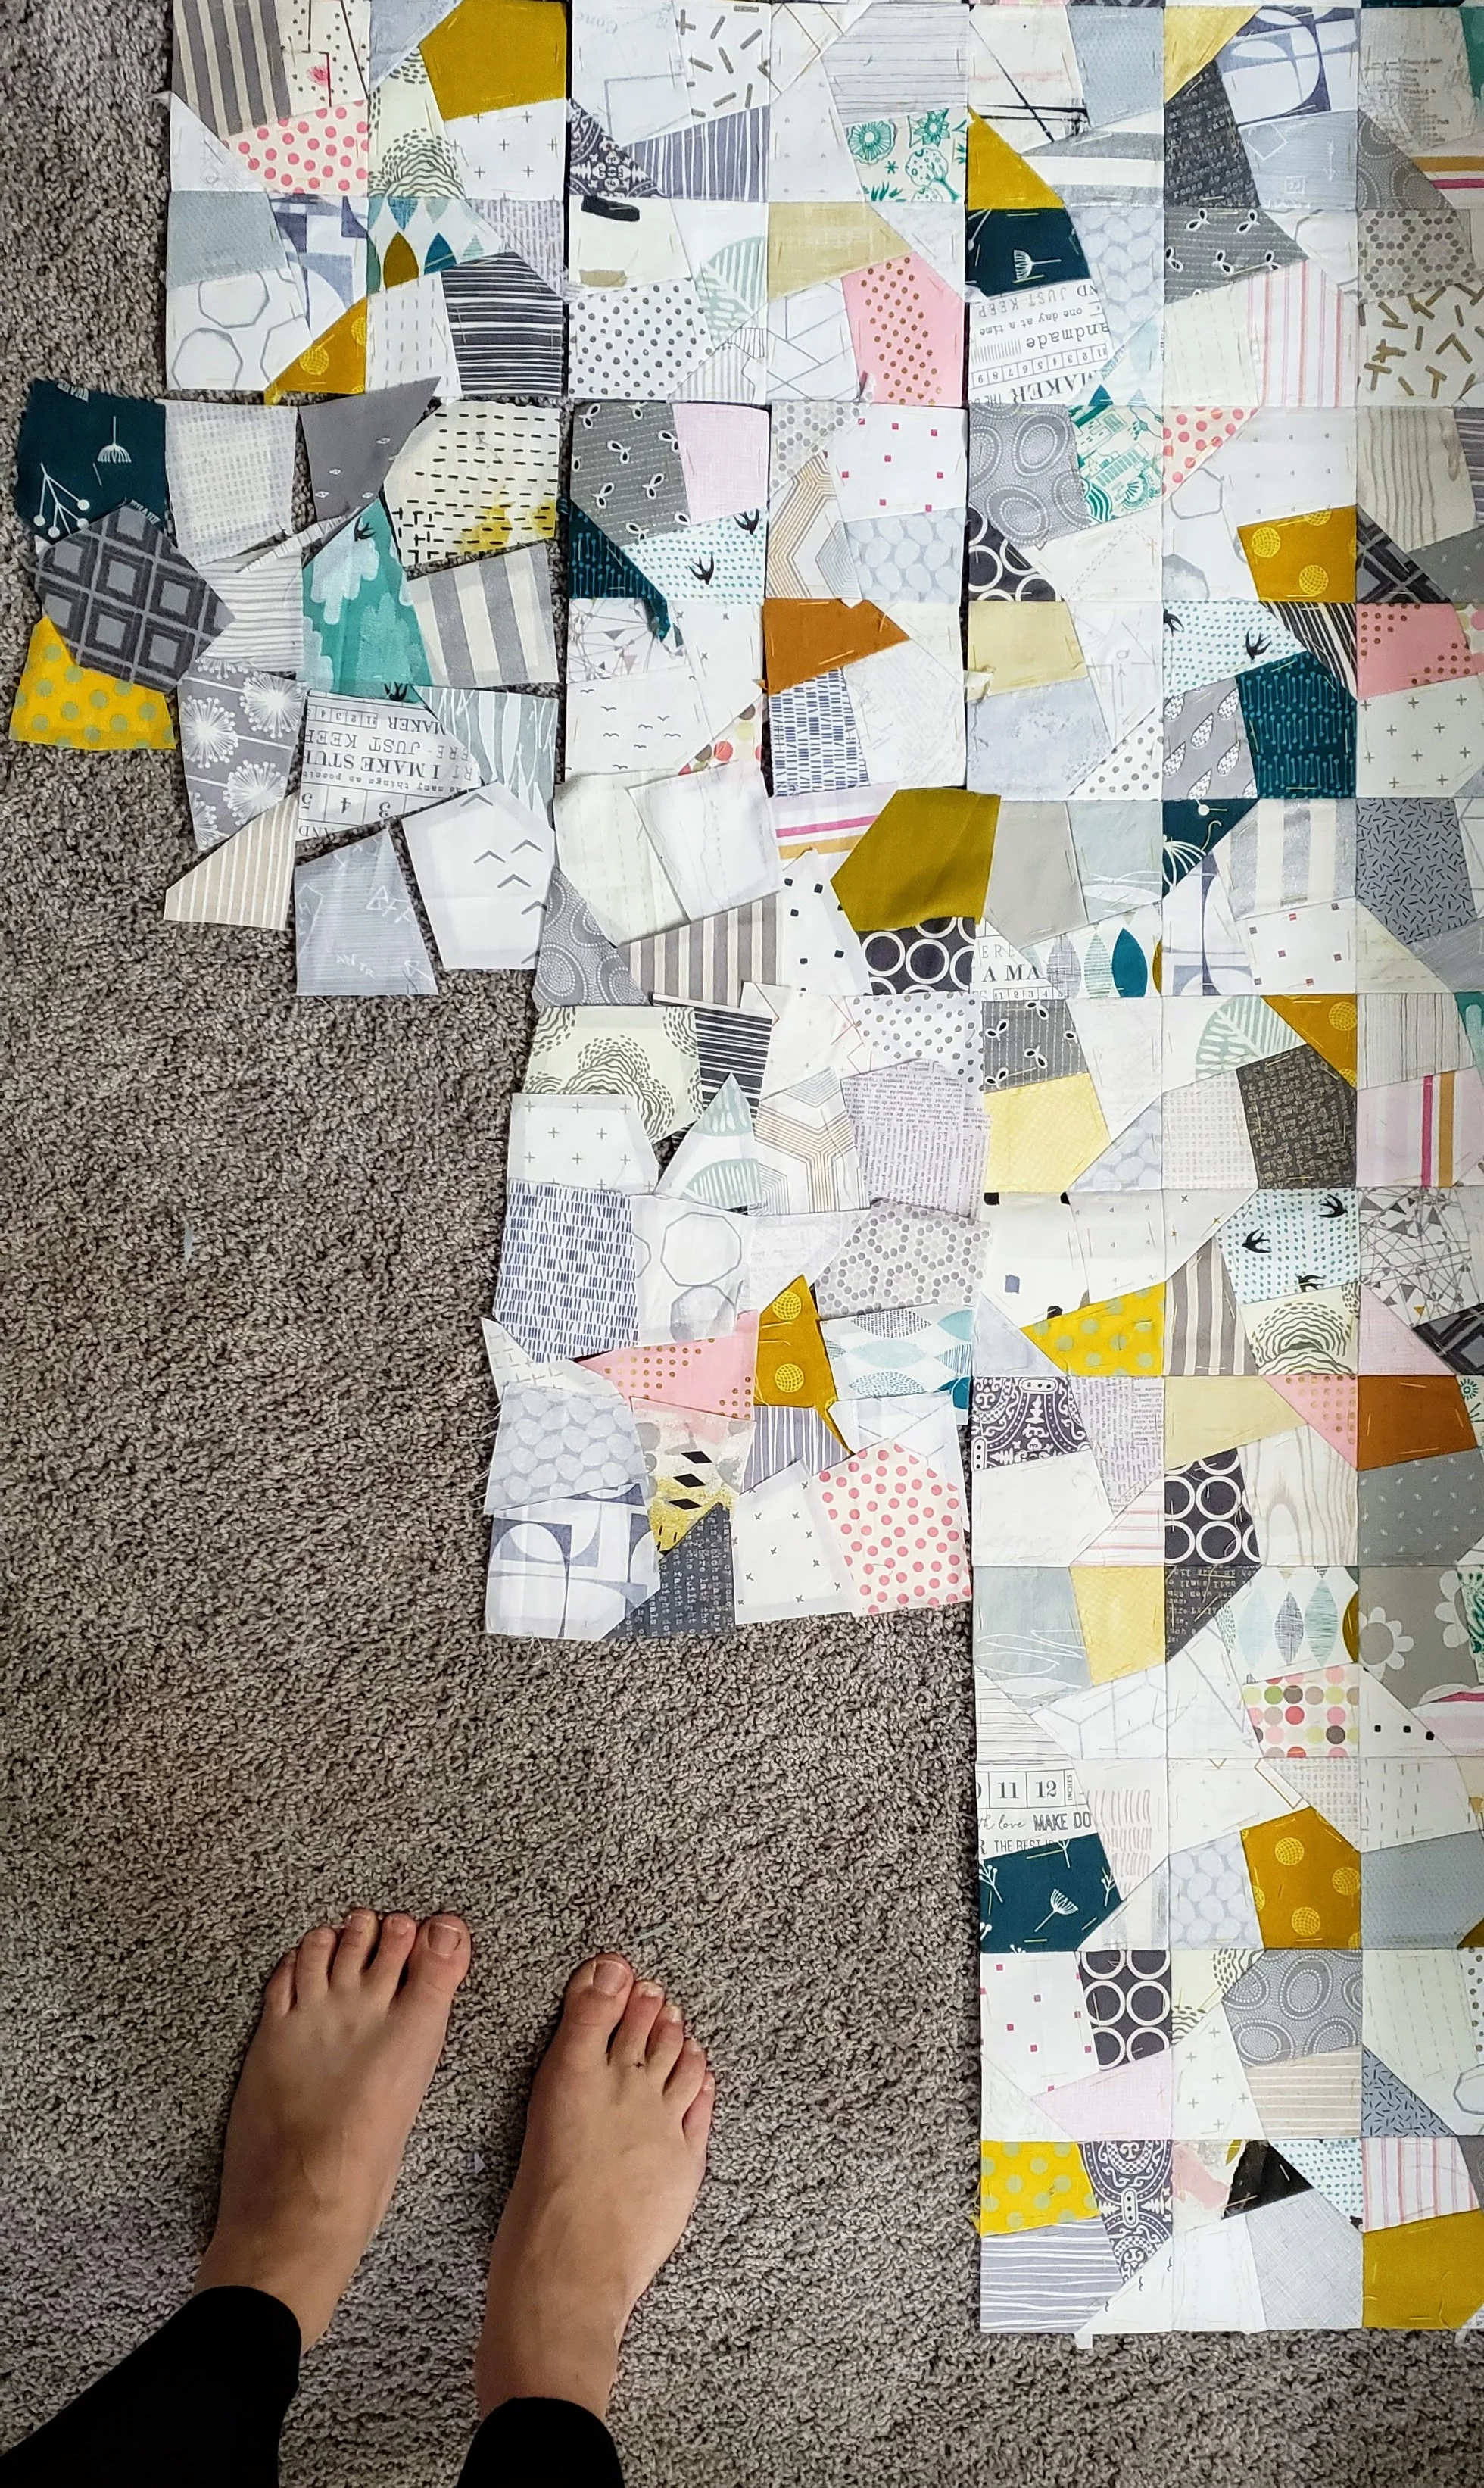
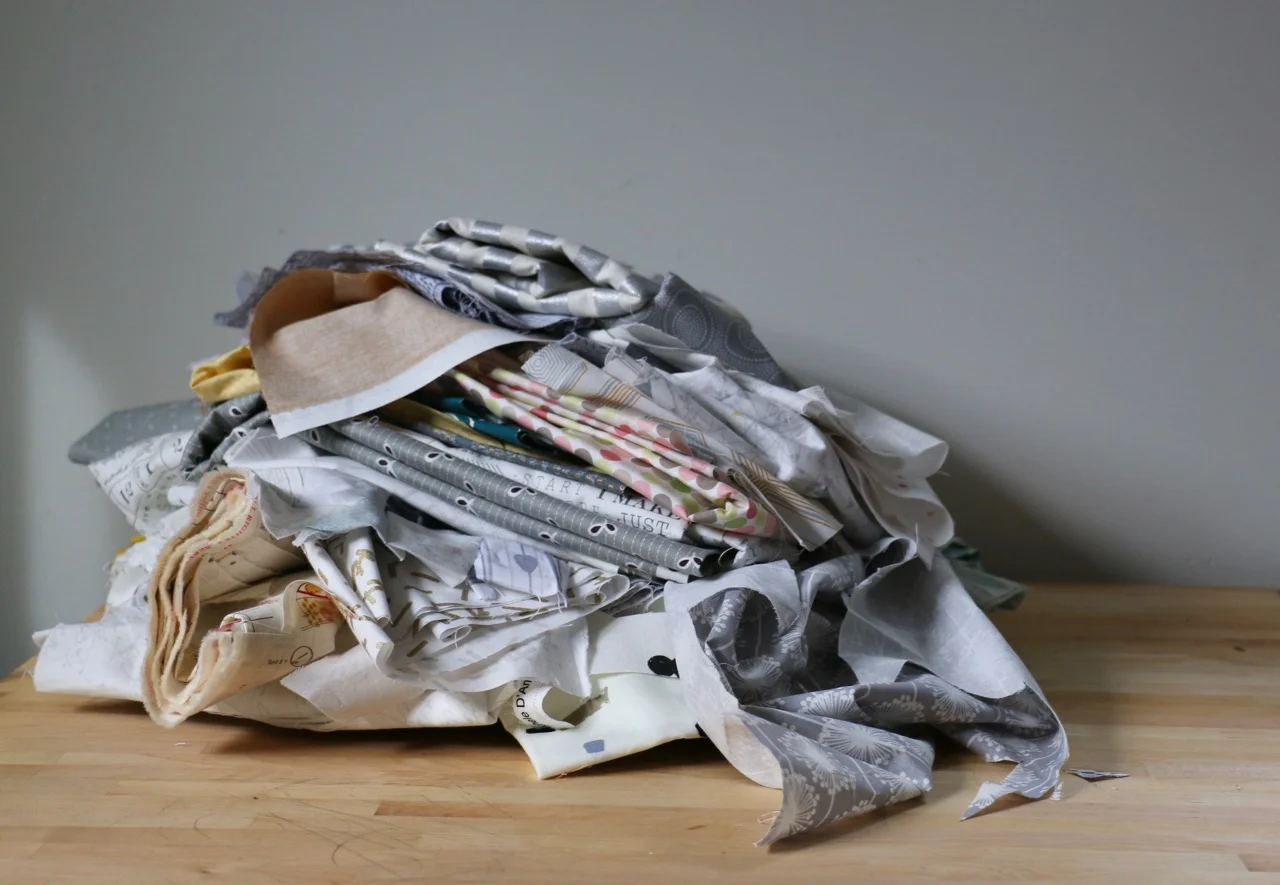
To assemble the quilt I sew the mega blocks together then sew those together in columns. Not sure why, but in my brain I made the far right column first so I am working right to left. I usually prep one or two blocks at a time, laying out what I have so far so that my random scrappiness is somewhat controlled - no two fabrics right next to each other. It does require vacuuming the studio floor and keeping the dog out. I can do the basting and stitching of each block while in any number of places, but save the mega block assembly for home, on a large table.

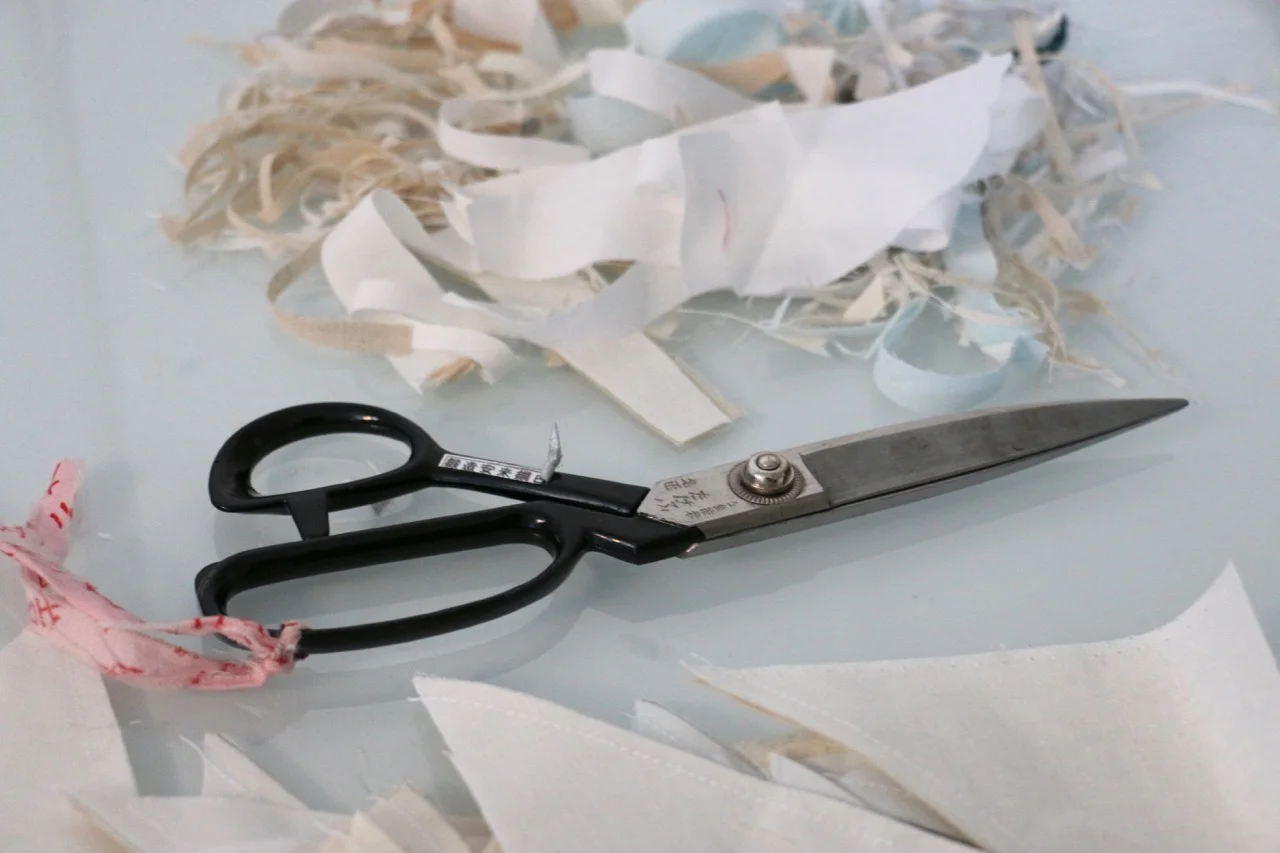
Oh, and I wholeheartedly recommend the flat back stitch when it comes to English Paper Piecing.

I’ve been asked if I am bored yet. Nope. Not at all. It is highly repetitive. I think if I were working on very controlled fabric/colour placement I might be. Or maybe I would switch to foundation paper piecing for that project? But the scrappy nature of my fabric selection and my infinite patience to pick it up, put it down, and pick it up again is keeping me from getting bored. Quite the opposite, I get super excited each time I finish a block!

The printable templates are still for sale on my Etsy site, if you are interested.

Japanese Scissors and a New Quilt

Names for Snow Quilt Improv quilting

It is well known among the people who live with quilters and sewers that our scissors are protected and precious commodities. Use them on paper and we might divorce you! At least, according to endless memes and jokes. All jokes aside, our scissors are such a fundamental tool in the sewing kit. Rotary cutters are amazing, but we all know not a thing can happen without scissors.

I've spoken before of my love for the Japanese tailor's scissors in my possession. I love these scissors so much I have two pairs.

Last month I decided that I would make a quilt only using scissors. Even for squaring up. Free hand cut squares made in to half square triangles. I had a stack of white/cream/neutral fabrics that needed to be brought to life so they were the starting point. I don't have much time these days to sew, so my Morning Make is deliciously important to me right now. Each day I make a set or two of these improv half square triangles. Slowly but surely they are adding up. And because we are having a proper winter here with loads of snow and a lot of cold weather the inspiration is quite literal. I've already got a name for this quilt: Names for Snow.

Scissors Quilt Improvisational Piecing

But back to those scissors. 

My scissors were brought in special by the great owner of Knifewear, a local shop specialized in Japanese forged steel. Their knives are beautiful, sharp, and amazing. About six years ago I asked the owner if he ever sees good scissors on his buying trips to grab me a pair. And lucky me, he obliged. They quickly became my favourites. They travel with me to classes and the requests from students for their own pair increased. So I asked Knifewear again. And guess what? They've brought in a couple of dozen for you!

Japanese Sewing Scissors

Can we take a moment to admire the awesome packaging?

Don't let it distract your from the incredible scissors inside though. We brought in two sizes: 240mm and 190mm. That is the size of the overall scissors, not the blade length. The handles are essentially the same.

Large = 4'' blade length with a blunt tip 

Small = 2 1/4'' blade length with a pointed tip

Let me tell you two things. One, they are ridiculously comfortable to use. If your hands get tired cutting these scissors will change that. And two, they are phenomenally sharp and precise. So sharp. An utter dream to use. 

Japanese Sewing Scissors

Knifewear is selling the scissors at their Calgary, Ottawa, and Vancouver stores. If you can get in there you will be spoiled by all the amazing things they have. (You've been warned.)

You can also buy them directly from me. I have a handful of each size available. If you are interested, then send me an email or direct message. First come, first served. Email is at the bottom of the page.  Cost below:

Small $93

Large $109 (Also comes with oil for the hinge)

Plus personalized shipping. Trust me, they are worth every single penny. And yes, keep these from grubby hands who might cut paper with them!

Cheryl Arkison Scissors

Tag Fabric + Improv Applique = Fun

Improv Applique Kona Cotton Tag Fabric Connecting Threads

Seriously, I might just call this quilt Fun. It's nothing precious and doesn't take itself too seriously. It was just some play time that resulted in a finished quilt top - shocking!

I started with a bundle of mini charms of my Tag fabric. It was one left over from a guild trunk show where I gave them away. I also happened to have a bundle of Kona Cotton charm squares. One day they landed on the table together. It happened that that day I was sheduled to teach Improv Applique. So I grabbed to two bundles and they became friends. And well, you know me, I don't like mini quilts all that much so I couldn't very well just sew 20 charms together and call it a day. So the solids got attacked by the scissors too and then those got sewn to more Tag Fabric.

True confession: there was intense debate with my daughter about what shapes I should cut. She said the initial shapes I cut out of the mini charms reminded her of Alberta so the other ones should have been too. I argued that it would get too meta, even for me. So now we have gems/envelopes/whatever you might see. 

That's the joy of Improv Applique. Take some scissors to the fabric and see what happens!

Improv Applique Kona Cottons Tag Fabric

Euroa Quilt - An Adventure in English Paper Piecing

Euroa Quilt English Paper Piecing Original

Behold the exciting beginnings of my first English Paper Pieced Quilt! Inspired by a tile floor I saw last year in Australia. It is a running joke among quilters that we take pictures of tiles because they are so inspiring. But I've never actually made a quilt that literal in its interpretation. I am now though.

Because I finished the Park Quilt I felt totally justified in starting this one. Despite my over 40 quilts under construction I've found that I can't have more than 2-3 in the hand work stage. It simply takes up too much time and head space to be fighting among handwork projects. But with my big applique project done I could move on to this one.

Euroa Tile Inspiration for Quilt
Maze and Vale dropcloth

While the inspiration for the pattern itself came from the tile floor, the colour scheme was lifted from another Australian influence. We visited Leslie Keating from Maze and Vale while in Melbourne. Our screen printing lesson was incredible, and her fabrics are dreamy. What I truly loved (aside from the light in her studio and her lovely presence) was the drop cloth on her work table. Periodically she has to switch it out. The old one then gets sold as bits of fabric or dropcloth art. This was the piece I got from her in the sale. Originally I thought I would stitch it up as a whole cloth piece, but once I started down this quilt's path it became integral to the entire thing. It dictated the colours and I am cutting it up, bit by bit, to be included in the quilt.

To start the quilt I drew out the single block pattern in Illustrator. Knowing that I don't work small (when it comes to the size of quilts) I wanted to be able to ensure consistency of the pattern and to make multiples in one go. I am doing English Paper Piecing with my templates, so I print out 4 little blocks at a time on a sheet of cardstock. I could have easily done this with foundation paper piecing on my machine. The pattern works either way. 

Scraps for the Euroa Quilt

The next step was actually picking the fabric. Into the stash I dove! I picked out light and medium greys, a few teals and mints, the two mustard fabrics I had, some light pinks, and various creamy low volume prints. I decided to skip the black and whites, preferring to focus on grey. After I made the first couple of blocks I decided it needed more depth in fabric choices so I did a little bit of shopping. Some more mustards and more white/grey prints. The block results in some interesting secondary patterns. Playing with value or colour can drastically change the way this looks. I decided, however, to keep with the original influence and go completely scrappy.

I have a feeling this messy stack will be sitting on my cutting table for the next year or so.

My plan/goal is to make this quilt 80'' x 80''. I just don't like small quilts. Each mini block is 4'' x 4''. That means I will need 400 of them! I make them 4 at a time. Then make 4 of those and sew them together, calling those a mega block. So I will need 400 mini blocks, or 100 blocks, or 25 mega blocks. Whew. It's scary when you write it out that way. One block at a time. Like any journey that starts with the first step.

English paper Piecing Prep for Euroa Quilt

From start to finish for one block is probably about 2 hours of work. That includes the printing, cutting of the template, picking fabric and prepping blocks, thread basting, then sewing it all together. So far I have never just sat and done that start to finish. This is my one the go/summer sitting/TV watching project so it gets done is spurts and with interruptions. That's the point of a hand sewing project like this after all. 

I am pretty much brand new to English Paper Piecing and jumped in with my own pattern. It suits me just fine. I've poked my fingers and am developing callouses. I am still searching for my favourite needle (small enough but strong enough not to bend). And so far I haven't removed any papers. I'm kind of nervous about that step for some reason. It's fine for now, I have plenty of paper and there is no rush. 

This isn't the first quilt made from this inspiration. Lori made this incredible version after I posted the tile floor while on my trip last year. I posted the photo then went out of wifi range for a few hours. When I logged back in she'd already posted a block she'd made! Her finished mini quilt is awesome! Since I started the project I've had numerous requests for the pattern so I am prepping that to go live in the next couple of weeks. Watch for it. In the meantime, slow down and sew. 

UPDATE: The Euroa Templates are now available.